Category: Uncategorized

  • #Starbucks Bag Book

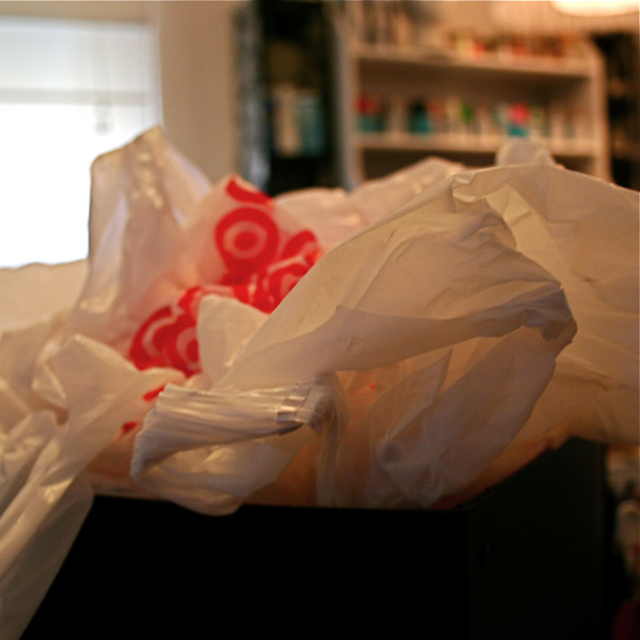
    This was the challenge I found on my Starbucks bag a few weeks ago:

    “So Reuse it. Reincarnate it. Reimagine it. And when it has served its every purpose, recycle it.”

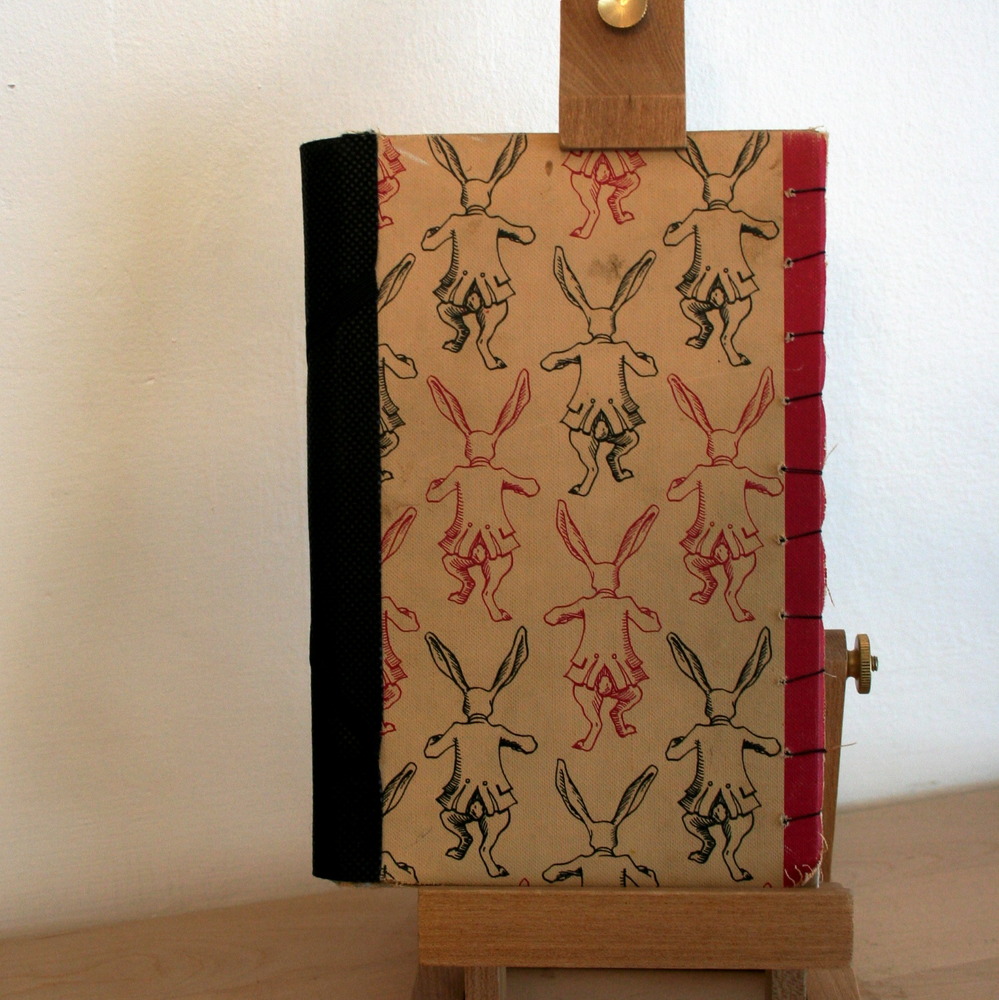
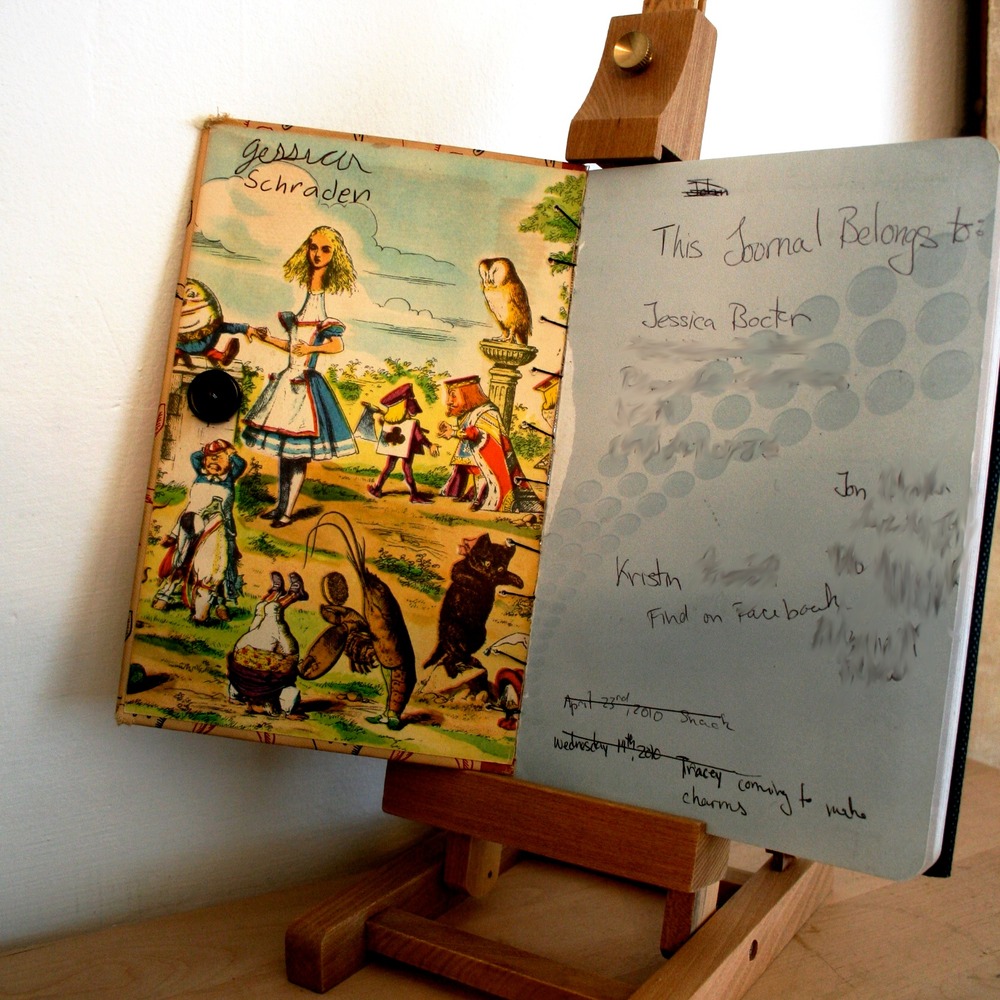
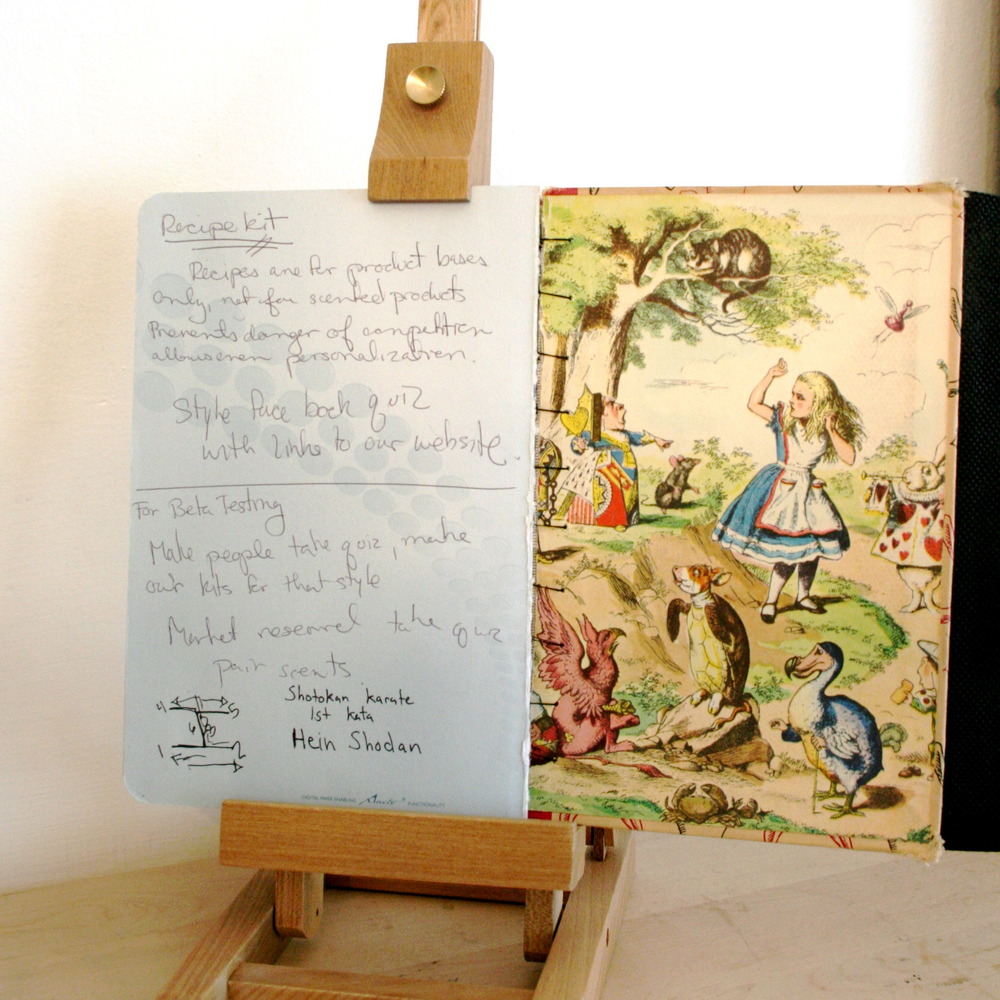
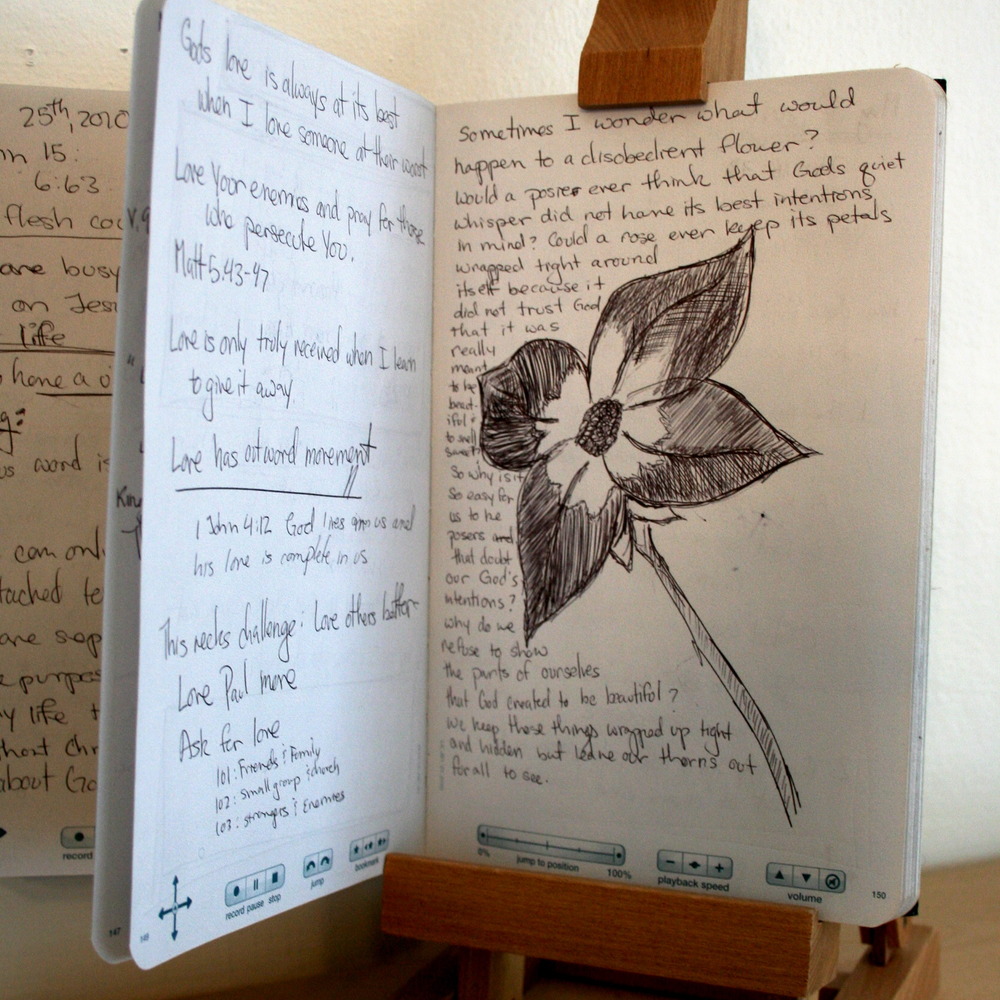
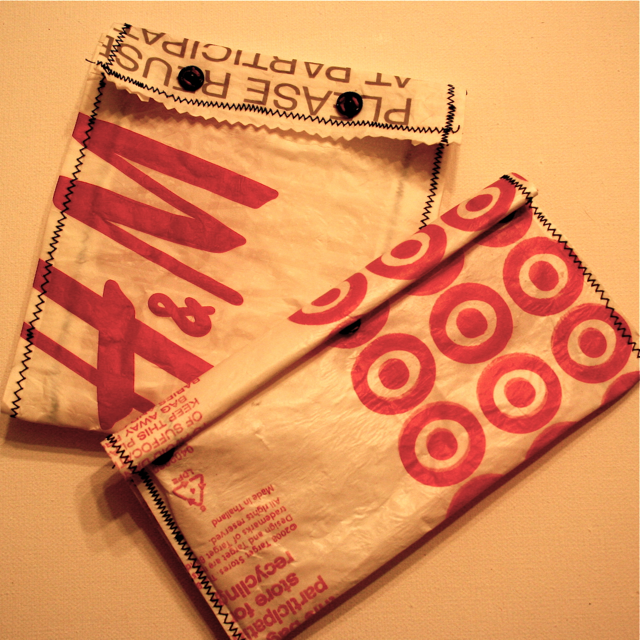
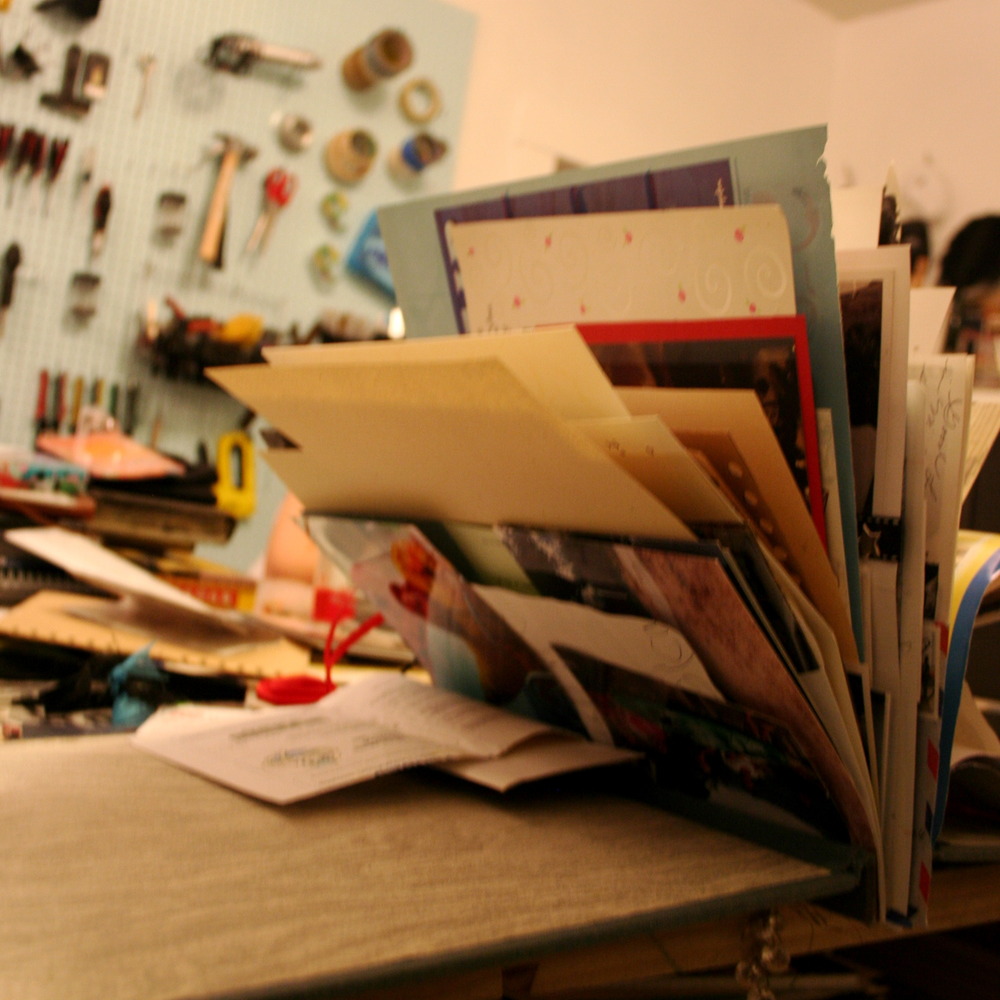
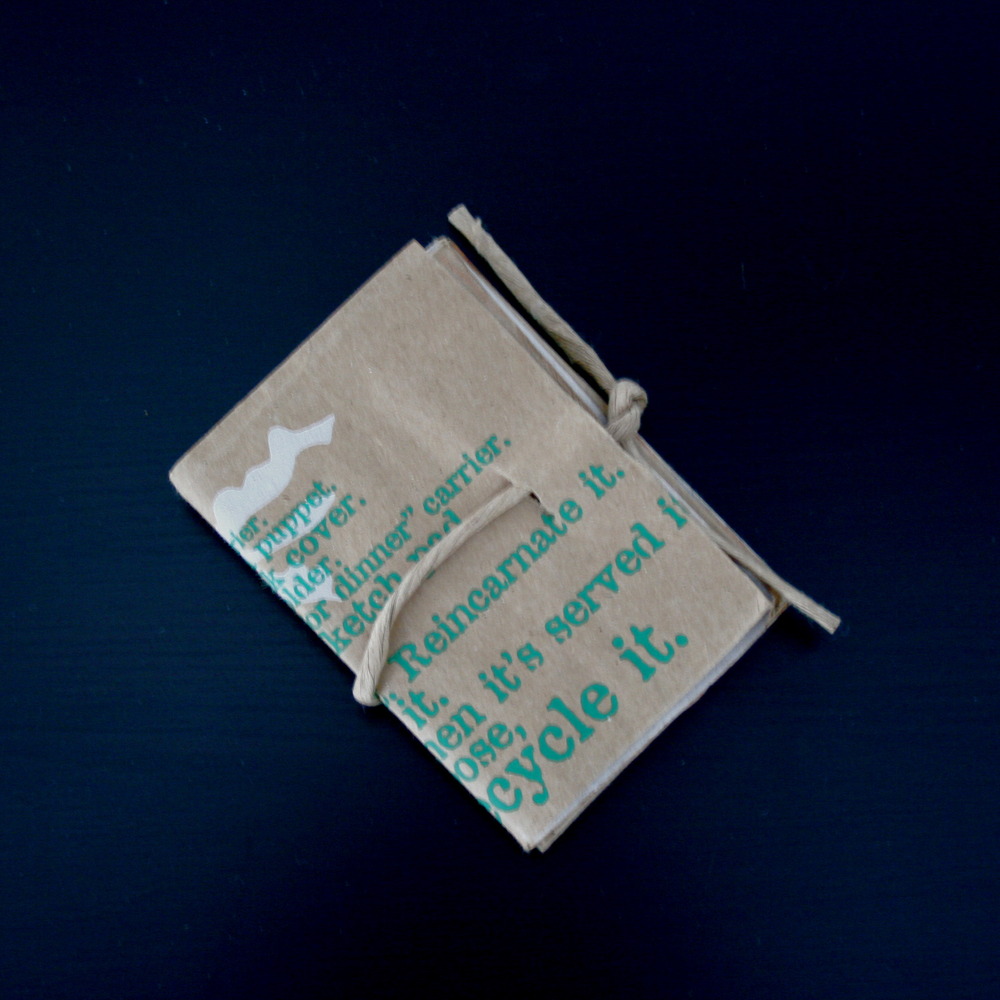
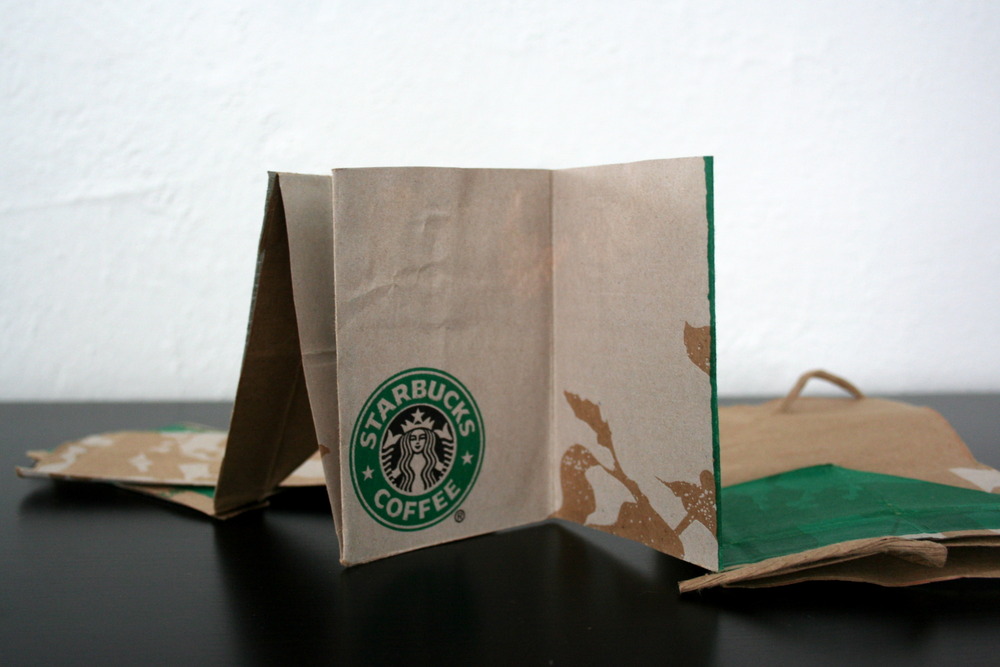
    Of course I could not let the challenge go unmet. So I present to you the Starbucks bag book. I made it using a folding technique taught to me by my friend, Kelly Rider.  Never again will you need to go without a notebook after getting your morning fix!
    Img_9190Img_9194Img_9193Img_9195Img_9196
    If you want to make your own, here’s how:

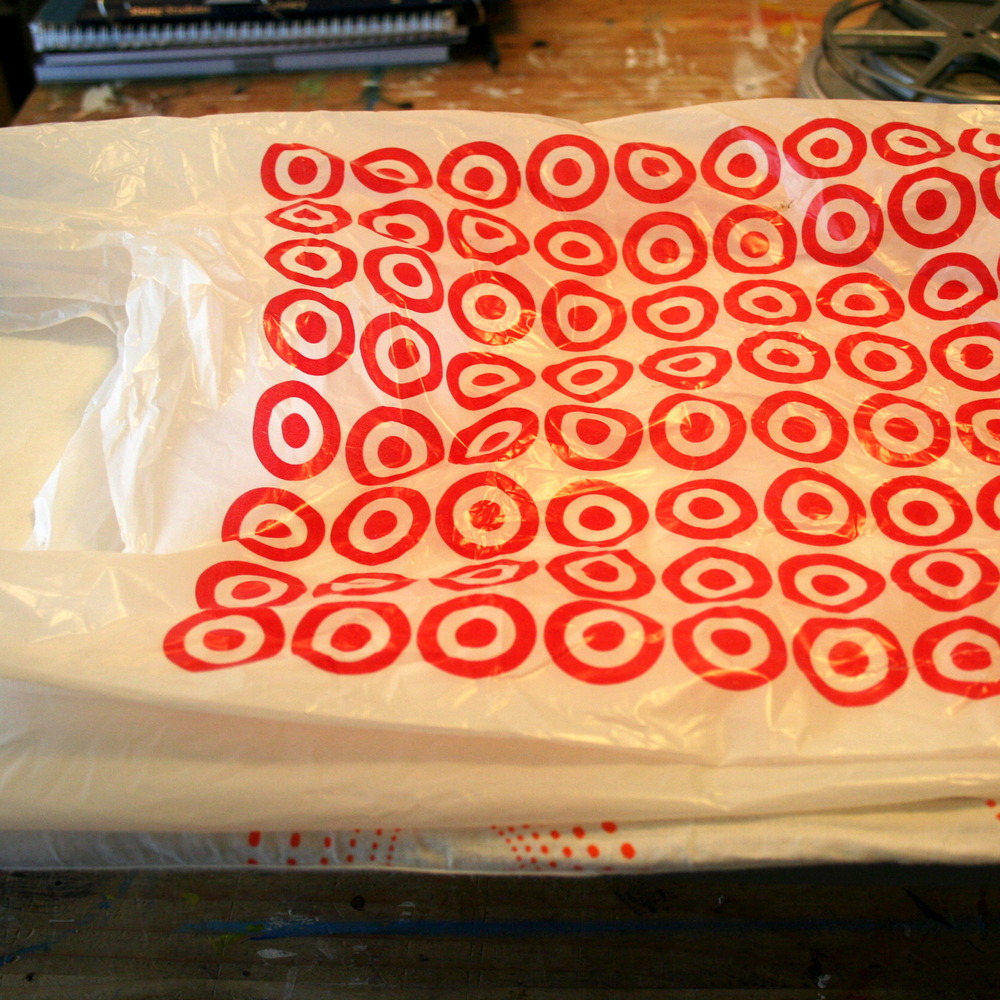
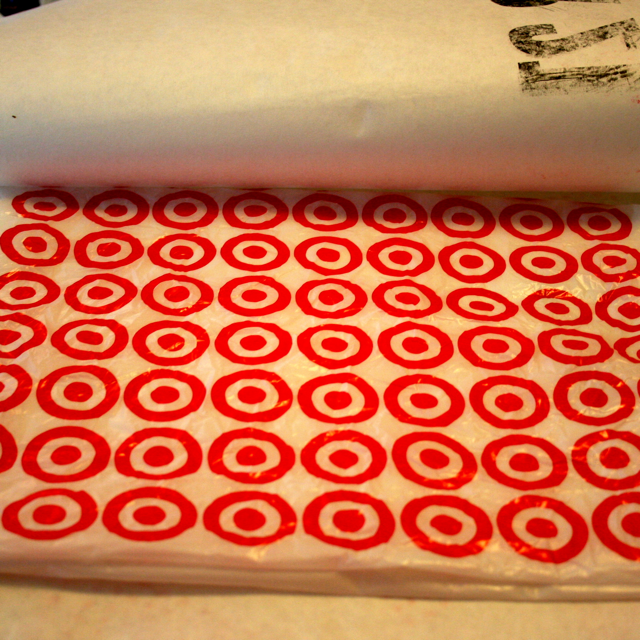
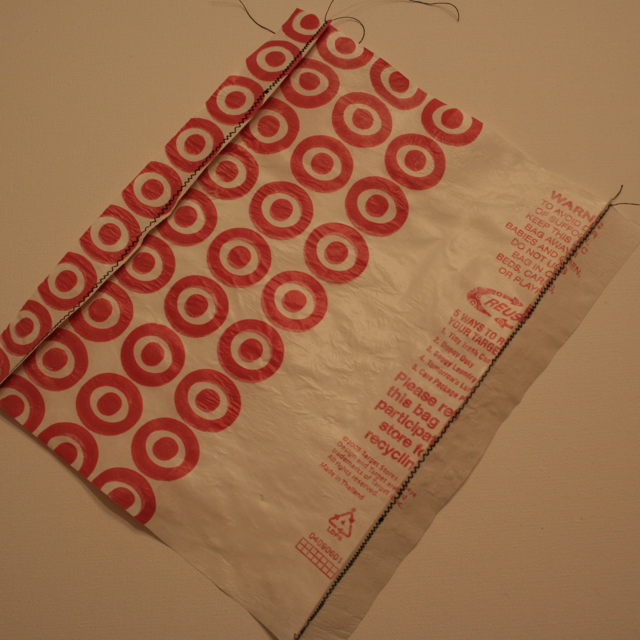
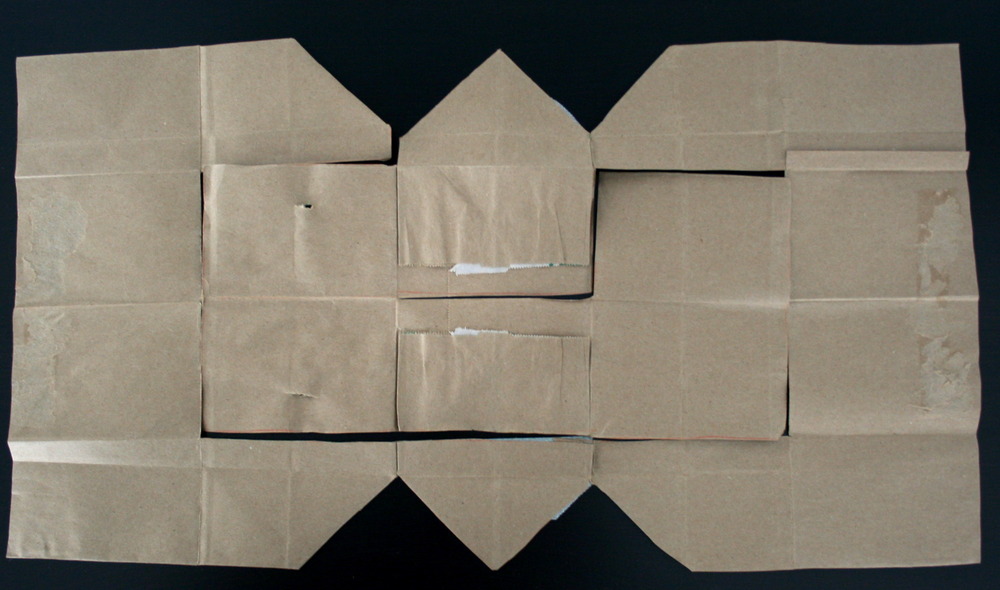
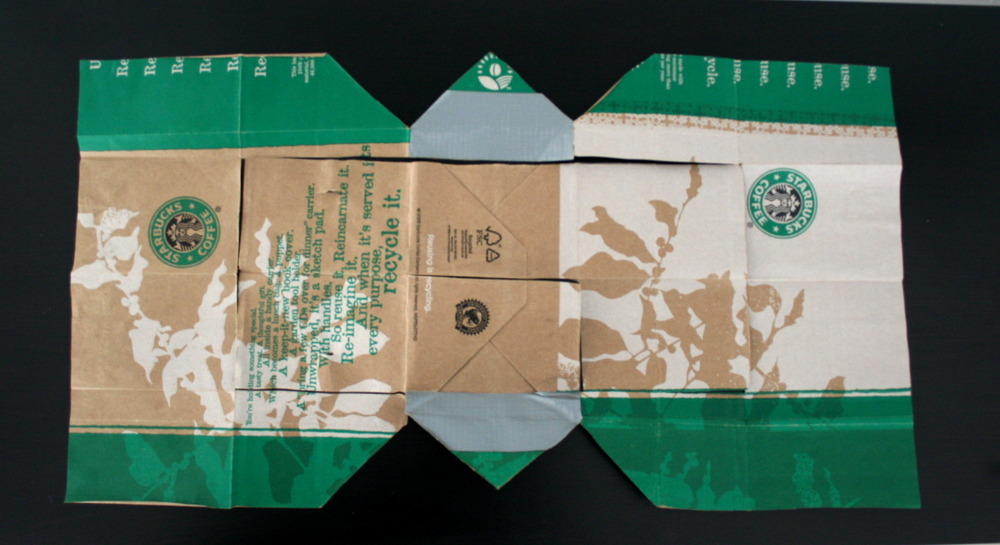
    1. Cut the bag up the sides, following the fold lines, including the triangle at the bottom.
    2. Lay the bag out flat.
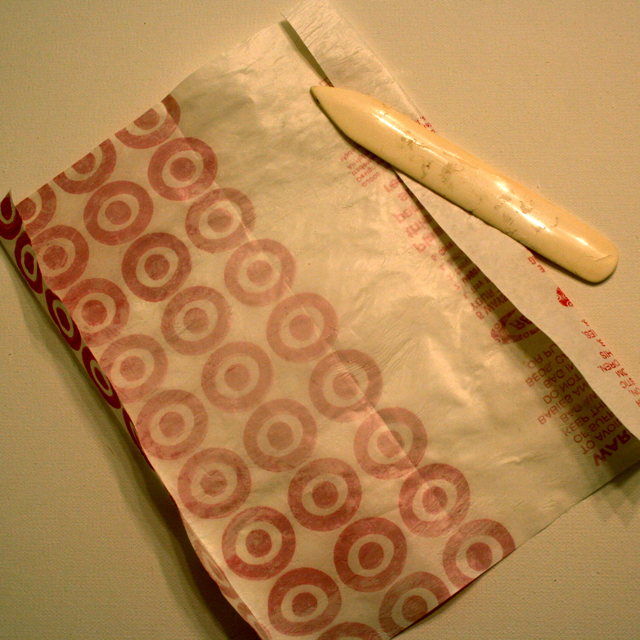
    3. Starting along the length of the bag (what was formerly the front and back). Fold the bag in half, and then in half again. The result should be three creases with four sections. Make sure the creases are really thick, use a pen or a bone folder if you need to.
    4. Lay the bag out flat again. 
    5. Starting along the bottom of the bag, (the reinforced section in the middle) fold the right side over and then back again. Repeat with the left, the result should be four creases and five sections. Trim away any extra of the bag which sticks out past the bottom when it is folded over.
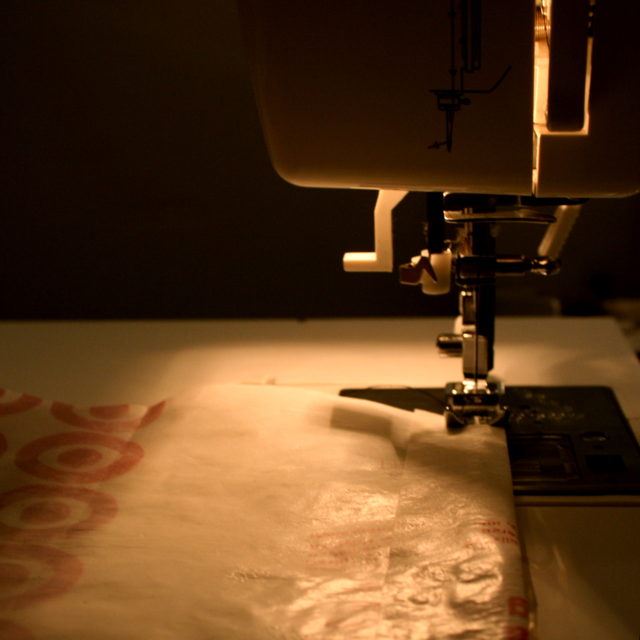
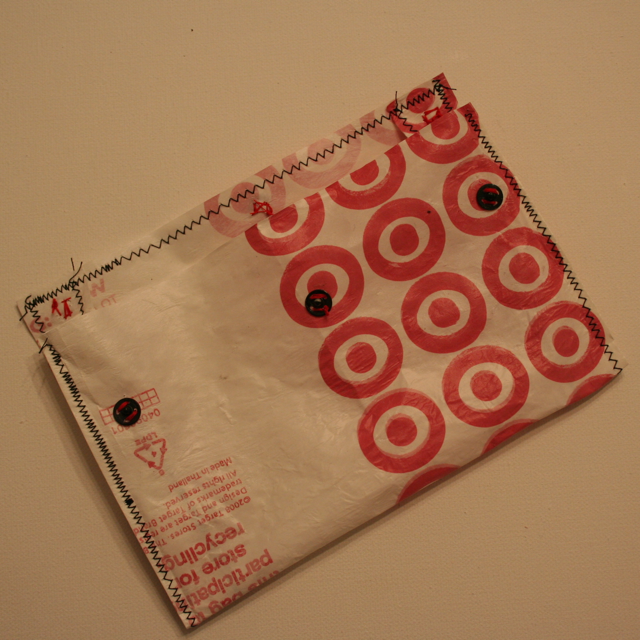
    6. Cut along the inside creases of the sections, as if you were going to cut the middle section out entirely. Stop, one section before you come back to the starting point and then turn into the middle section, making only two cuts so that you are left with 1 continuous piece of paper. 
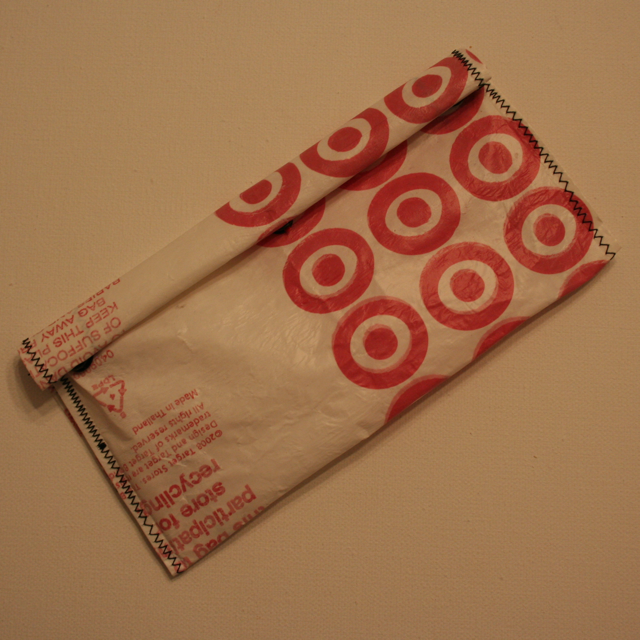
    7. Beginning where you started your first cut, fold the bag accordion style (back and forth) along your previous creases, sometimes they will fold along the length of the page, sometimes along the width. When you come to your last section, fold it over the other pages to create your cover. 
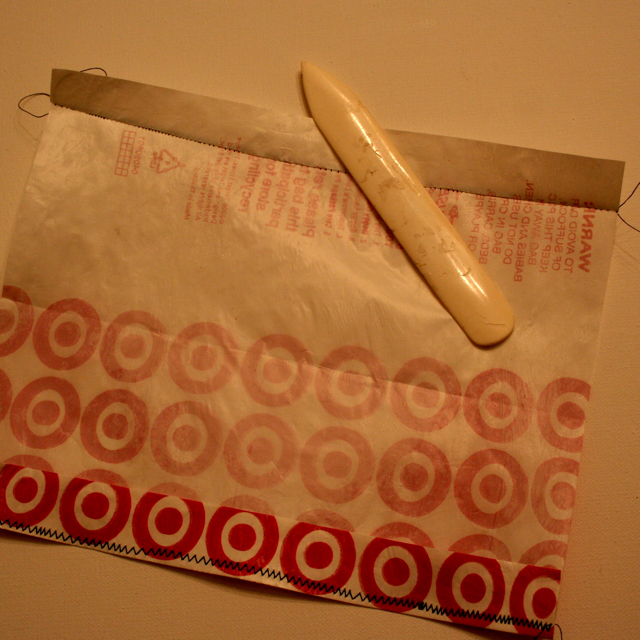
    8. Cut the twine handle from your bag. Make two small slits in each of the cover sheets and lace the twine through so that you have a way to secure the book close. Tie with a simple half knot.
    9. Now just show it off to all your friends!

    Continuing the adventure, 

    Jess


  • Nature Themed Monogram Book

    Someone is getting a very special book for their birthday. 

    Continuing the adventure, 

    Jess

    20101017_img_325020101017_img_325120101017_img_325320101017_img_325720101017_img_325620101017_img_3255

  • Monogram Sketch Books

    Continuing the adventure, 
    Jess
    Media_httplh5ggphtcom_hvdji
    Monogram Books
  • #Livescribe in Wonderland

    This is my latest Livescribe creation. I took my own journal and re covered it with this vintage cover from Lewis Carrolls Alice in Wonderland. I love the exterior with the white rabbits, and on the interior covers are illustrations from the story. You can see on the inside of the front cover where I wrote my name in the book in second grade when the Lady first bought it for me.

    I also came across one of my own illustrations in the journal while I was rebinding it. I decided to give it a little extra punch, so I made a pdf of the image from my Livescribe desktop application and then used Gimp Shop to add some extra touches. I like how the white writing really pops against the pink background. 

    Also, if you want to get a Livescribe pen of your own, I found a coupon for you!:

    Save 5% on your entire order. Use coupon code LIVESCRIBE5OFF

    Media_httpwwwawltovhc_cotdb

    If you would like one of my dot paper creations for yourself, I make them special to order.

    $32.99 – 5.8″ x 8.3″ Lined Notebook $34.99 – 8.5″ x 11″ Lined Notebook 2 $44.99 – 5.5″ x 8.25″ Unlined Notebook 3
    Continuing the adventure, 

    Jess

    Img_9154Img_9155Img_9162Img_9165Img_9158Img_9161Img_9160Journalflower2

  • 24 Hours.

    And I will be in Anaheim seeing O.A.R. live. 


    “War Song” by O.A.R. from IAVA on Vimeo.


    I have listened to this song a million times, and I never knew it was about veterens. With Jon currently overseas, I have to admit it pulled the heart strings a bit. Lets hope if they play it tomorrow night I can keep it together. Or, let’s hope I don’t. 

    Continuing the Adventure, 

    Jessie

  • UWYG Cahllenge #1: Fused Plactic Snackers

    UWYG = Use What You’ve Got

    There are lots of ways to be green. For me, the best way to be green is to simply consume less and make the most of the things you have. Let’s suck every bit of usefulness out of an item before we throw it away and fill the dirt with it. One item which everyone uses and has the most potential for reuse is a simple plastic shopping bag.
    This project is how to make a fused plastic bag snacker. They are a great size for snacks and you can use them over and over again. I have been using mine for carrots and pretzels all week!
    How to Make Fused Plastic Snackers:
    What you need:
    Butcher Paper
    Plastic Shopping Bags
    Iron
    Ironing Board
    Sewing machine
    Bone Folder or ruler
    Snaps or closure
    Img_9087
    1. Lay your plastic bag out flat, cut off the top handles and the bottom, leaving the side seams intact. Once you have done this, lay the bag out flat again, you should have two layers, the back and the front. If you have a thinner plastic bag, such as a grocery bag, I recommend folding this in half in the same direction as the seam so you have four layers. If it is a thicker plastic bag, like from a clothing store this may not be necessary.
    Img_9090
    2. Lay two pieces of butcher paper which is 3″-4″ larger than your plastic, on your ironing board. Place your folded plastic bag between two sheets of butcher paper, this protects both your ironing board an
    d your iron.
    Img_9108
    3. Start with a medium low setting on your iron, it is always better to start cooler and get hotter if you need to. Iron over the butcher paper and the plastic bag with quick motions, never letting the iron rest in one place for too long, for about 15-20 seconds. You can set the iron aside to check and see your progress. Your plastic bags should start fusing together, a good indication of this is when logos or images start showing through the layers and the plastic begins to feel thicker and more sturdy. Also, if you rub your fingers (be careful it will be hot!) along the plastic there should be no give or bubbling (like there is an air pocket).
    Trouble shooting: if the plastic is not fusing together properly, you may not be giving it enough time with the iron, or you may need to set it to s slightly higher temperature. If you find your plastic is curling or bubbling (like it was boiled), then your iron is too hot or you are letting it rest in one place to long.
    Don’t get discourage, it takes a while to get the hang of fusing the plastic but it is totally worth it if you can hang in there!
    4. Once you have a few pieces of nicely fused plastic completed, trim them down so they have a more squared off appearance. It does not have to be exact, but the more even it is the more easy the rest of the process is.
    5. Decide which side of your plastic you would like to be the exterior of your snacker. Lay this side face down on your workspace. Using your Bone folder, fold the long edges of your fused plastic sheet up in towards the middle about 1″ on either side. Make sure to give it a good crease as the makes sewing it easier.
    6. Using your sewing machine, sew the folds shut as close to the crease as possible. The purpose is not to actually make a seam, but to prepare for a depth when we make the bag. I used a zig zag stitch because it adds a decorative touch. You may need a more sturdy needle for this as well, I used one intended for denim.
    7. Once both folds have been sewn, Lay the plastic sheet again face down on your table, and with your bone folder, open the seams up. Once you have done this, flip the sheet over so the exterior is now facing you. Fold one of the shorter sides almost in half to the other, leaving about 1″-2″ for a fold over flap. Use your bone folder to make a strong crease and line up the long edges of your sheet as best you can.
    8. Starting at the crease you just made, sew the long edges together. The exterior side which you picked should be folded over on itself, as well as the previous seams we had made. Once you have finished sewing both edges together, gently turn the bag inside out.
    9. All that is left now is to fold the longer side of the bag over as a closing flap, and to add snaps or whatever type of closure you want. You may also want to do some decorative stitching along the top flap so it matches the rest of the sewing. Have fun and be creative!
    Img_9125

    Tips & Tricks: This is one project where persistence and experimentation are required. I have found I like the way Target Bags fuse together the best ( I may be slightly biased), though my favorite end product was made from an H&M bag (once again, slightly biased). I found that putting a piece of felt underneath the plastic also seems to help keep the temperature more even, but haven’t tried it enough in general to recommend it for every use. If you need more examples, simply search YouTube for “Fused Plastic Bag Projects”

    Continuing the adventure,
    Jessica
  • Scrap it.

    Hello. My name is Jessica and I am an ephemera junkie.

    It all started a few years ago, well actually, maybe when I was just a kid. I started collecting things; a napkin from a restaurant with a cool font, a movie ticket stub, maybe a few flower petals. I always said I would use it for something because it is just so cool!

    Cool can be a bit cluttering. So, I decided to scrap it. Scrap it all. If it has true sentimental value, it will be put into a scrap book, if it doesn’t it will be scrapped into the trash can. Either way, the filtering process has begun.

    Here are some pictures from my first endeavors. I had this old ledger binder and I just added the items I wanted to keep, in no particular order. I like how visually interesting it is even though it is pretty random. How many people out there can say their scrap books stand on their own? I can!
    Continuing the adventure, 

    Jessi

    Img_9128Img_9129Img_9131Img_9132Img_9133