Recently, I have found myself feeling nostalgic for P2. P2 is a tool crafted by a previous employer that allowed documentation and communication across teams. The micro-blogging product allowed long form discussion to happen by being easy to use, having tags for individuals, a robust notification system, and making most things searchable. It was a verb as much as a product. The company culture was embedded with it, to the point that “If it isn’t in P2, it doesn’t exist”.
As someone who has kept a journal for more of my life than not, writing out my thoughts has always been a way to process what is happening and next steps. Aside from the in-the-moment-brain-dump benefit, these writings have acted as record keepers. I can piece together how I got where I am today by seeing where I was before. Oftentimes, passing of time and new experience allow me to look back at an earlier period of my life with a different insight. Patterns and issues I was blind to become illuminated with a reflective perspective.
Currently, my day-to-day work is heavy in interaction with LLMs. It feels like I am writing more than ever. At the same time, it seems easy to lose the context thread. I keep finding myself wishing for a place to look back, a desire to just “P2”.
When I stopped to examine why, more than a year later, I still feel the loss of this tool, I realized it was more about a practice than it was about the tool.
Long form writing forces clarity of thought.
My opinion is that LLM’s encourage brevity. The harnesses and UIs that allow us to interact have short message boxes. The prompting and direction are meant to be a conversation. The models themselves do better with specificity over vagueness.
P2, blogging, and journaling all force me to stop and think long enough to create a fully fleshed out piece of prose. This pausing, writing, and editing cycle creates a more distinct picture not only for the reader, but in my own mind. The action of fully describing a problem can often illuminate its solution, often called rubber-ducking in the tech world. And, of course, there is the aphorism that you don’t really understand a topic until you can teach it, or for my illustration, write about it.
So here are some rituals and communication hygiene I am experimenting with to make sure I don’t lose clarity in pursuit of speed.
Stop, drop, and prompt — I am instructing my agents to push back every time I start a new session. They should drop the shortened session start message and ask for a more in depth version. The pushback will require me to describe the prompt more fully, giving me time to really clarify the issue for myself and the agent.
Pay attention to one session at a time — I often find myself jumping between multiple session threads. It gets easy to do when you the current agent session is working and you can just open a new tab to start a second thread. The goal isn’t to stop concurrent agent work but to stop context switching in the middle of a task.
Maintain an un-siloed context stash — I have a journal for each customer (the main context I am responsible for) with dated MD files. Decisions, communications, and working sessions all get a note. It doesn’t have to be comprehensive, it just has to track the history of the customer in one place. This is all stored in a place where anyone from the company can access it.
Encourage adversarial agents — I work in a small company. Oftentimes, the only eyes on work in progress are my own. Rather than having agents who passively agree, I encourage them to challenge what I prompt.
I don’t think that P2 is the right tool or culture for every company, but I know the ritual of long form writing is beneficial to me and my work. I am finding my own way to implement clarity in daily life.
If P2 sounds interesting an you would like to experiment with a P2-like product, another nostalgic A8c alumni has created a version you can manage on your own: https://github.com/georgestephanis/p2026
I have a client who has created a really neat app via Lovable. They needed help moving from what they have to launch.
One of the first concerns I had was how to set up a development environment for the project outside of Lovable.
tl;dr Creating a local environment for a Lovable app required cloning the GitHub repo and then setting up a local Supabase install by seeding data from the remote database.
Note: This tutorial is for Lovable projects which already have Supabase and GitHub integrated with the app. If your Lovable project isn’t there yet, here is the documentation for integrating Supabase and GitHub.
There were a few gotchas which I ran into. I deal with them throughout the tutorial, so you can skip ahead if you like. If you want a heads up of what to watch out for, continue here.
Self-hosted via Docker VS Supabase CLI
This feels a bit like the struggle of self-hosted WordPress vs WordPress.com. Like WordPress, Supabase is both an OpenSource project which can be hosted on your servers via Docker. It is also an enterprise hosting service which will host the databases for you. The important distinction for our tutorial is that in order to work on a Supabase project locally, you do need to have Docker Desktop installed and configured to work but you do not need to go through the trouble of setting up the Docker environment. It will send you down a rabbit trail. Rather, install the Supabase CLI and initialize the project from there, as described in Steps 3-5.
The Remote Database Password is Required during First Connections
This may seem like a “well-duh”, but I tried my hardest to work around it. Mostly because my client wasn’t sure what the password was and I didn’t want to force them into resetting the password, as I wasn’t sure how that would affect the Lovable app. This password isn’t tied to a user account, but the database itself. I tried just downloading a copy of the back up, and then restoring it locally, but that turned out to be its own headache. The native tools built into the Supabase CLI make accessing the remote database much quicker if you have the password. My client and I ended up resetting the password. Luckily, changing the password didn’t seem to have an effect on the Lovable app and I didn’t have to hunt around for places where the password was used.
Step 1: Install Supabase CLI
If you already have Supabase CLI installed, then you can skip ahead.
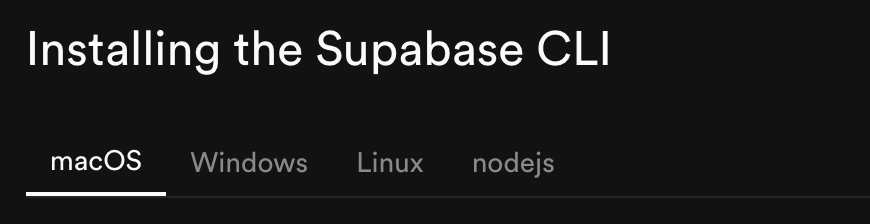
Click on the environment you are using to install the CLI and it will provide the instructions.
In my case (macOS), I used Homebrew via command line in Terminal.
brew install supabase/tap/supabase
Step 2: Clone the Lovable GitHub repo
$ git clone <Your Repo URL>
Step 3: Initialize Local Supabase
Access the folder where you cloned the Lovable project from GitHub. There should already be a supabase directory. It may contain sub-directories like functions and migrations.
% cd <Your Repo Name>
You probably don’t want to commit any of the local configuration files to the repo which you share with Lovable. Add the following items to your .gitignore file:
# Ignore Supabase local Development files
supabase/seed.sql
supabase/.branches/
supabase/.temp/
supabase/functions/.env
supabase/config.toml
Important: Make sure to save and commit the change to the .gitignore file before running supabase init. This way, Git won’t be trying to track the files Supabase will create.
Now that a local Supabase project has been initialized, the database can be connected to your remote project.
To log into your Supabase account where the remote project is:
<Your Repo Name>% supabase login
The response will be a link to open in a browser.
Hello from Supabase! Press Enter to open browser and login automatically.

Here is your login link in case browser did not open https://supabase.com/dashboard/cli/login?session_id={...}
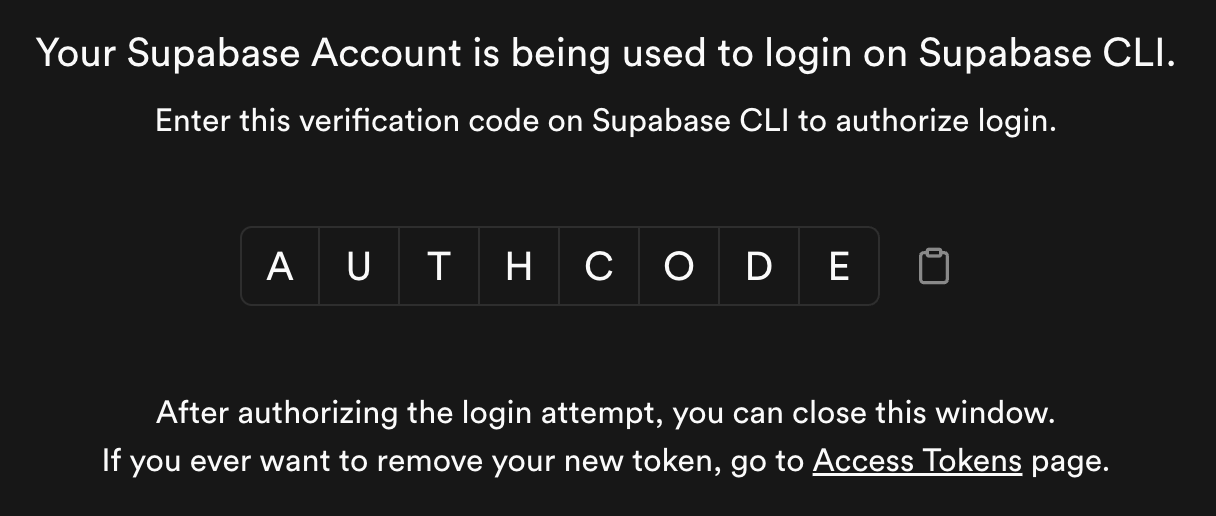
The link will either prompt you to log in to your Supabase account or immediately redirect you to the authorization page. Once logged in, the authorization page will show a verification code. Copy this into your terminal.
Enter your verification code: {AUTHCODE}

Token cli_jessboctor@{machinename}.local_{...} created successfully.

You are now logged in. Happy coding!
Once you have logged in, you can link the local instance to a remote project:
<Your Repo Name>% supabase link
The response will be a list of the projects in your remote Supabase workspace. Use the ⬆️ and ⬇️ keys to highlight the project you want and press enter.
Here, you may be asked for the database password for this project. This is not your user account password. You should have set the password when you created the Supabase project. If the password if valid, the supabase/config.toml file will be updated to reflect the project which you linked to.
Step 5: Seed & Start the Database
In order to set up with pre-populated data, you need to download a seed file from Supabase.
<Your Repo Name>% supabase db dump --data-only > supabase/seed.sql
This command will download a seed SQL file to your-repo-name/supabase/seed.sql
To start the database:
<Your Repo Name>% supabase start
Once the servers have started, you should see a list of local URLs and ports which you can use for different things. For example, the “Studio” allows you to access a local version of the Supabase dashboard.
Step 5: Update the environment keys
Now that the local Supabase tables are running, we need to connect the app to the local tables rather than the remote ones.
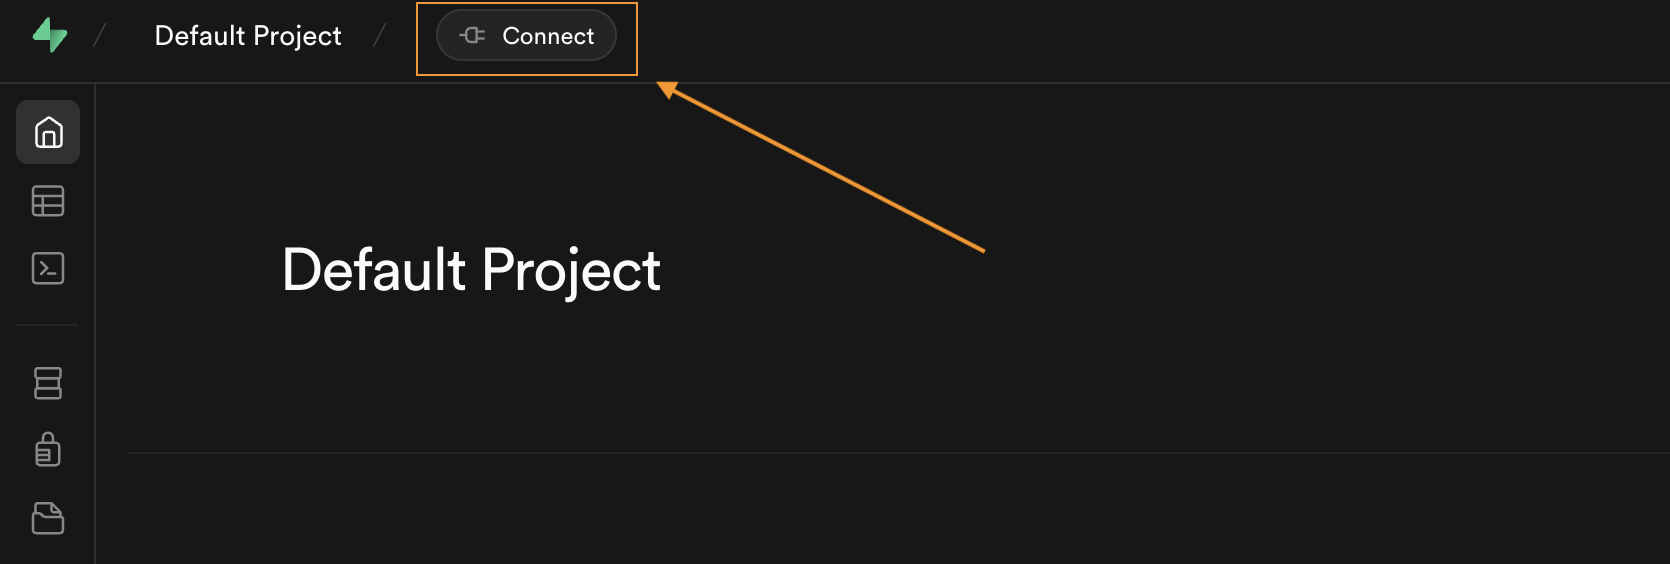
Open the Supabase Studio URL in a browser (it is most likely http://127.0.0.1:54323). When you see the Supabase dashboard, click on the “Connect” button in the upper right-hand corner.
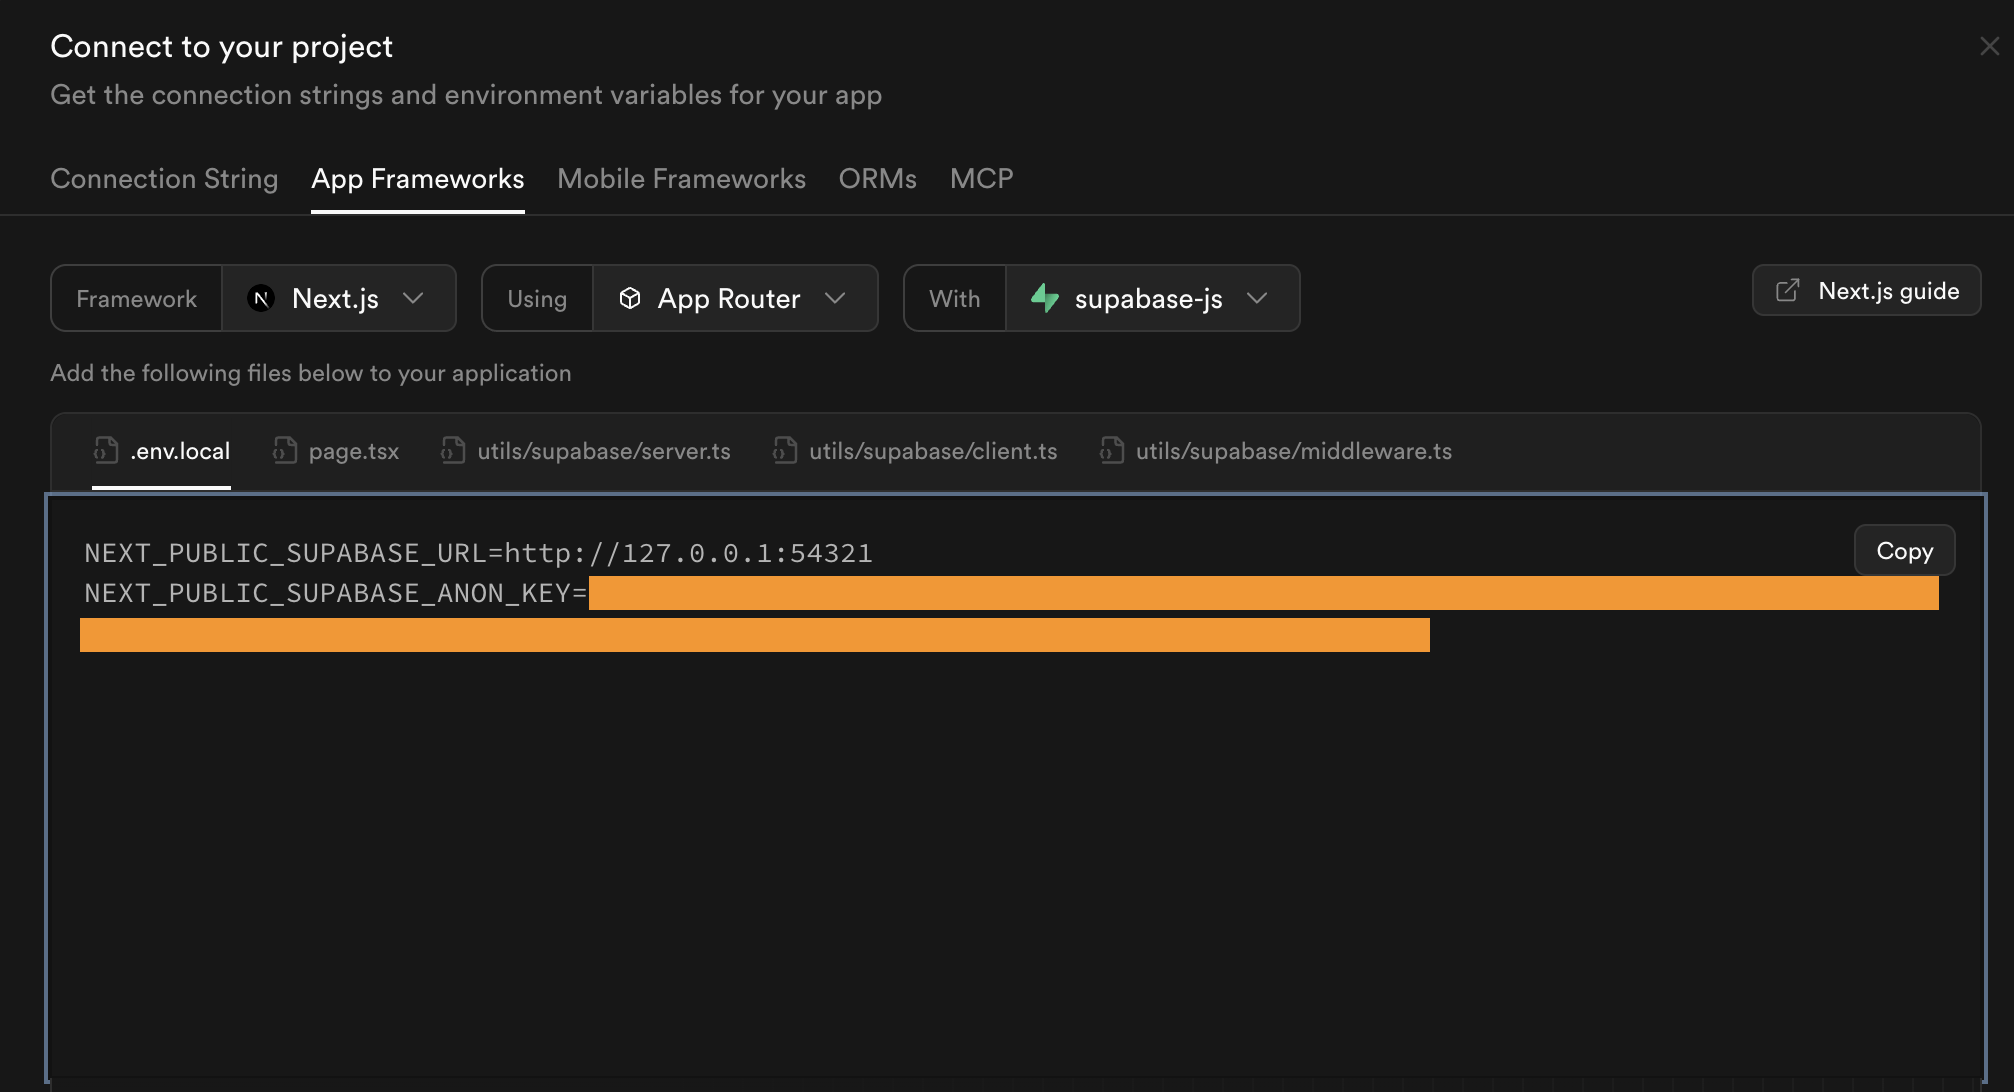
When the connect dialogue opens, click on the “App Frameworks” button. You need to copy the “{…}_Supabase URL” and “{…}_Supabase_Anon_Key” from the dialogue,
In your code editor, open up the your-repo-name/integrations/supabase/client.ts file. We need to replace the Supabase_URL and Supabase_Publishable_Key values. The file should look like this:
// This file is automatically generated. Do not edit it directly.
import { createClient } from '@supabase/supabase-js';
import type { Database } from './types';

SUPABASE_URL = "<Your Remote Subabase URL>";
SUPABASE_PUBLISHABLE_KEY = "<A really long string>";

// Import the supabase client like this:
// import { supabase } from "@/integrations/supabase/client";

export const supabase = createClient<Database>(SUPABASE_URL, SUPABASE_PUBLISHABLE_KEY);
You will want to replace the values with the ones you copied from the local Supabase Studio Connect:
// This file is automatically generated. Do not edit it directly.
import { createClient } from '@supabase/supabase-js';
import type { Database } from './types';

SUPABASE_URL = "http://127.0.0.1:54321";
SUPABASE_PUBLISHABLE_KEY = "<A really long but different string>";

// Import the supabase client like this:
// import { supabase } from "@/integrations/supabase/client";

export const supabase = createClient<Database>(SUPABASE_URL, SUPABASE_PUBLISHABLE_KEY);
You will also need to either create a .env.local file to replace the values in the .env file, or replace them in the .env file directly.
Step 6: Start the webapp
Conveniently, the README.md file from Lovable should include instructions on how to stand up a local version of the web app which was connected to the remote version of the Supabase project.
# Step 1: Clone the repository using the project's Git URL.
git clone <YOUR_GIT_URL>

# Step 2: Navigate to the project directory.
cd <YOUR_PROJECT_NAME>

# Step 3: Install the necessary dependencies.
npm i

# Step 4: Start the development server with auto-reloading and an instant preview.
npm run dev
Running npm run dev will respond with another local URL (http://localhost:8080/). When you load this URL in a browser, you should see a local version of your Lovable app!
That’s it! You should be ready to go!
Pro-tip: Lovable commits the .env file into the Git repo. However, keeping track of the environment variables is a pain, not to mention, can lead to accidentally committing your local Supabase_URL and Anon_key to the repo (ask me how I know).
Here is the workaround I figured out:
Remove .env from the git repo using git rm --cached .env
Add .env to your .gitignore file and commit the change
Edit the .env file to contain a environment variable which can be easily set to “true” or “false”: `VITE_IS_LOCAL=”true”
Edit the integrations/supabase/client.ts file to set the SUPABASE_URL and SUPABASE_PUBLISHABLE_KEY based on the environment variable.
// This file is automatically generated. Do not edit it directly.
import { createClient } from '@supabase/supabase-js';
import type { Database } from './types';

let SUPABASE_URL = "";
let SUPABASE_PUBLISHABLE_KEY = "";
const isLocal = import.meta.env.VITE_IS_LOCAL === "true";

if (isLocal) {
    SUPABASE_URL = "http://127.0.0.1:54321";
    SUPABASE_PUBLISHABLE_KEY = "<The long local string>";
} else {
    SUPABASE_URL = "<Remote project URL>";
    SUPABASE_PUBLISHABLE_KEY = "<The long remote string>";
}

// Import the supabase client like this:
// import { supabase } from "@/integrations/supabase/client";

export const supabase = createClient<Database>(SUPABASE_URL, SUPABASE_PUBLISHABLE_KEY);
Deploying Changes
In order to keep the version control continuous between Lovable and Supabase, you need to commit changes to any supabase/migrations and supabase/functions twice. First, via Supabase CLI to push the changes to the remote database and then second in Git to push the changes to Lovable.