Last week, a new subscription management experience was shipped to WordPress.com users.
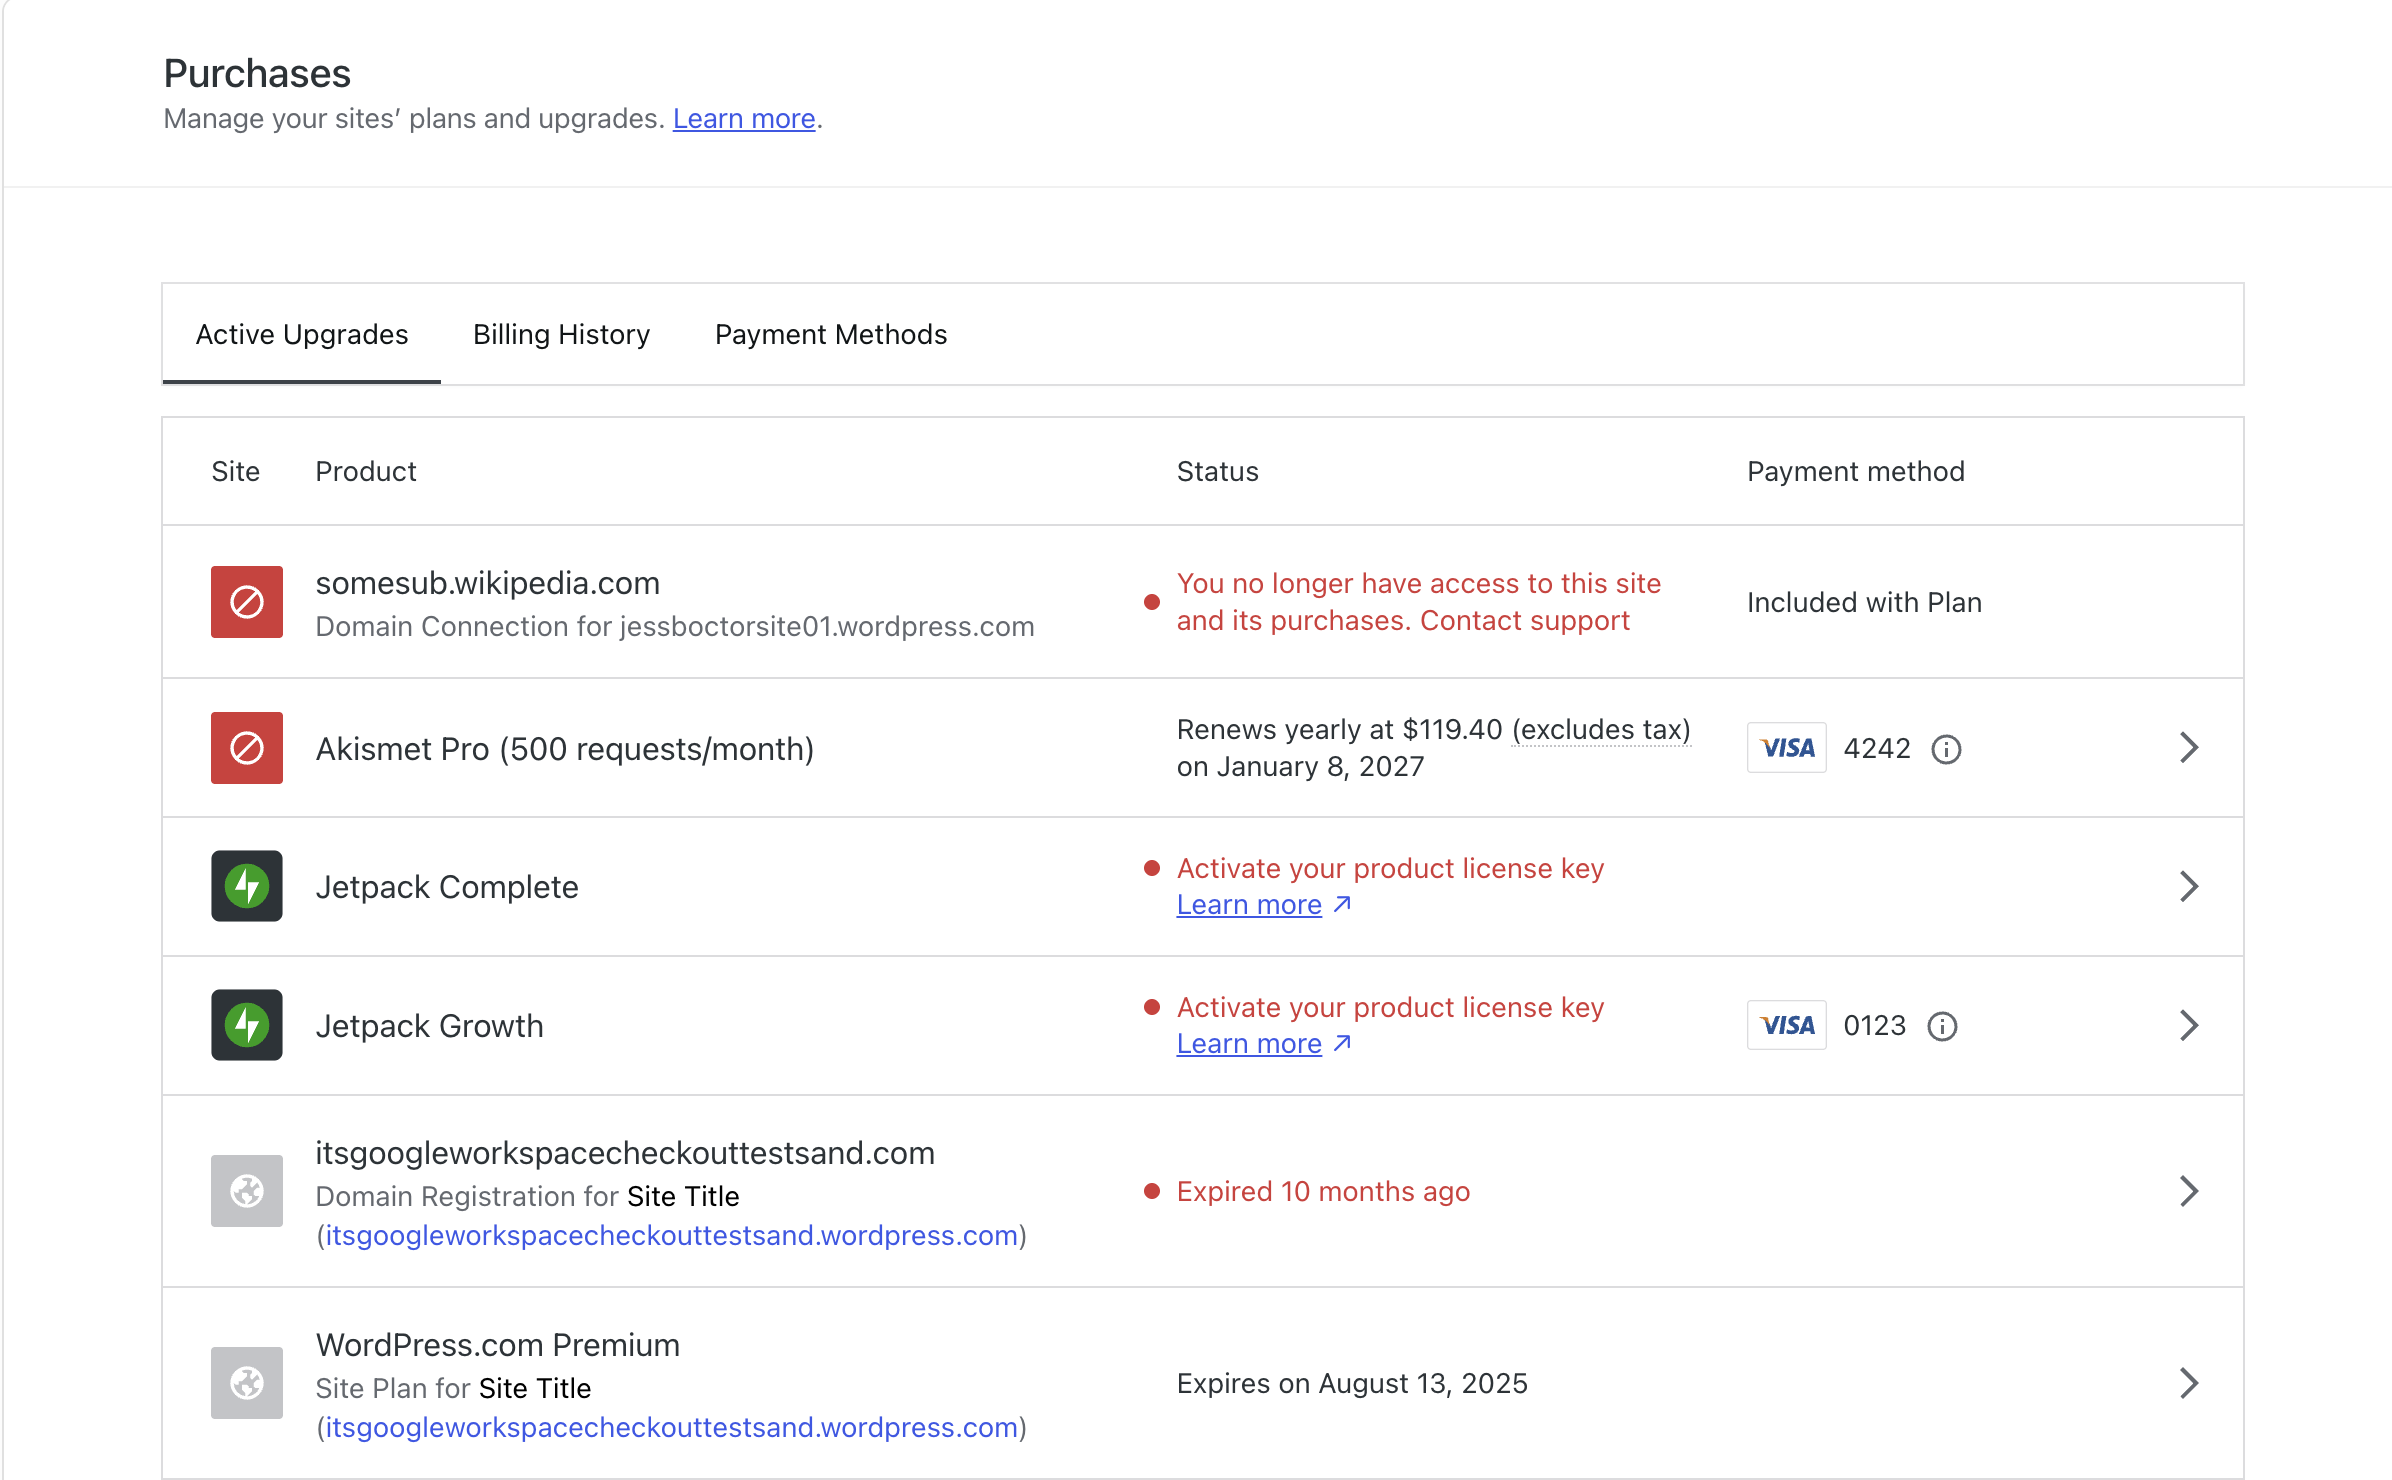
Before*
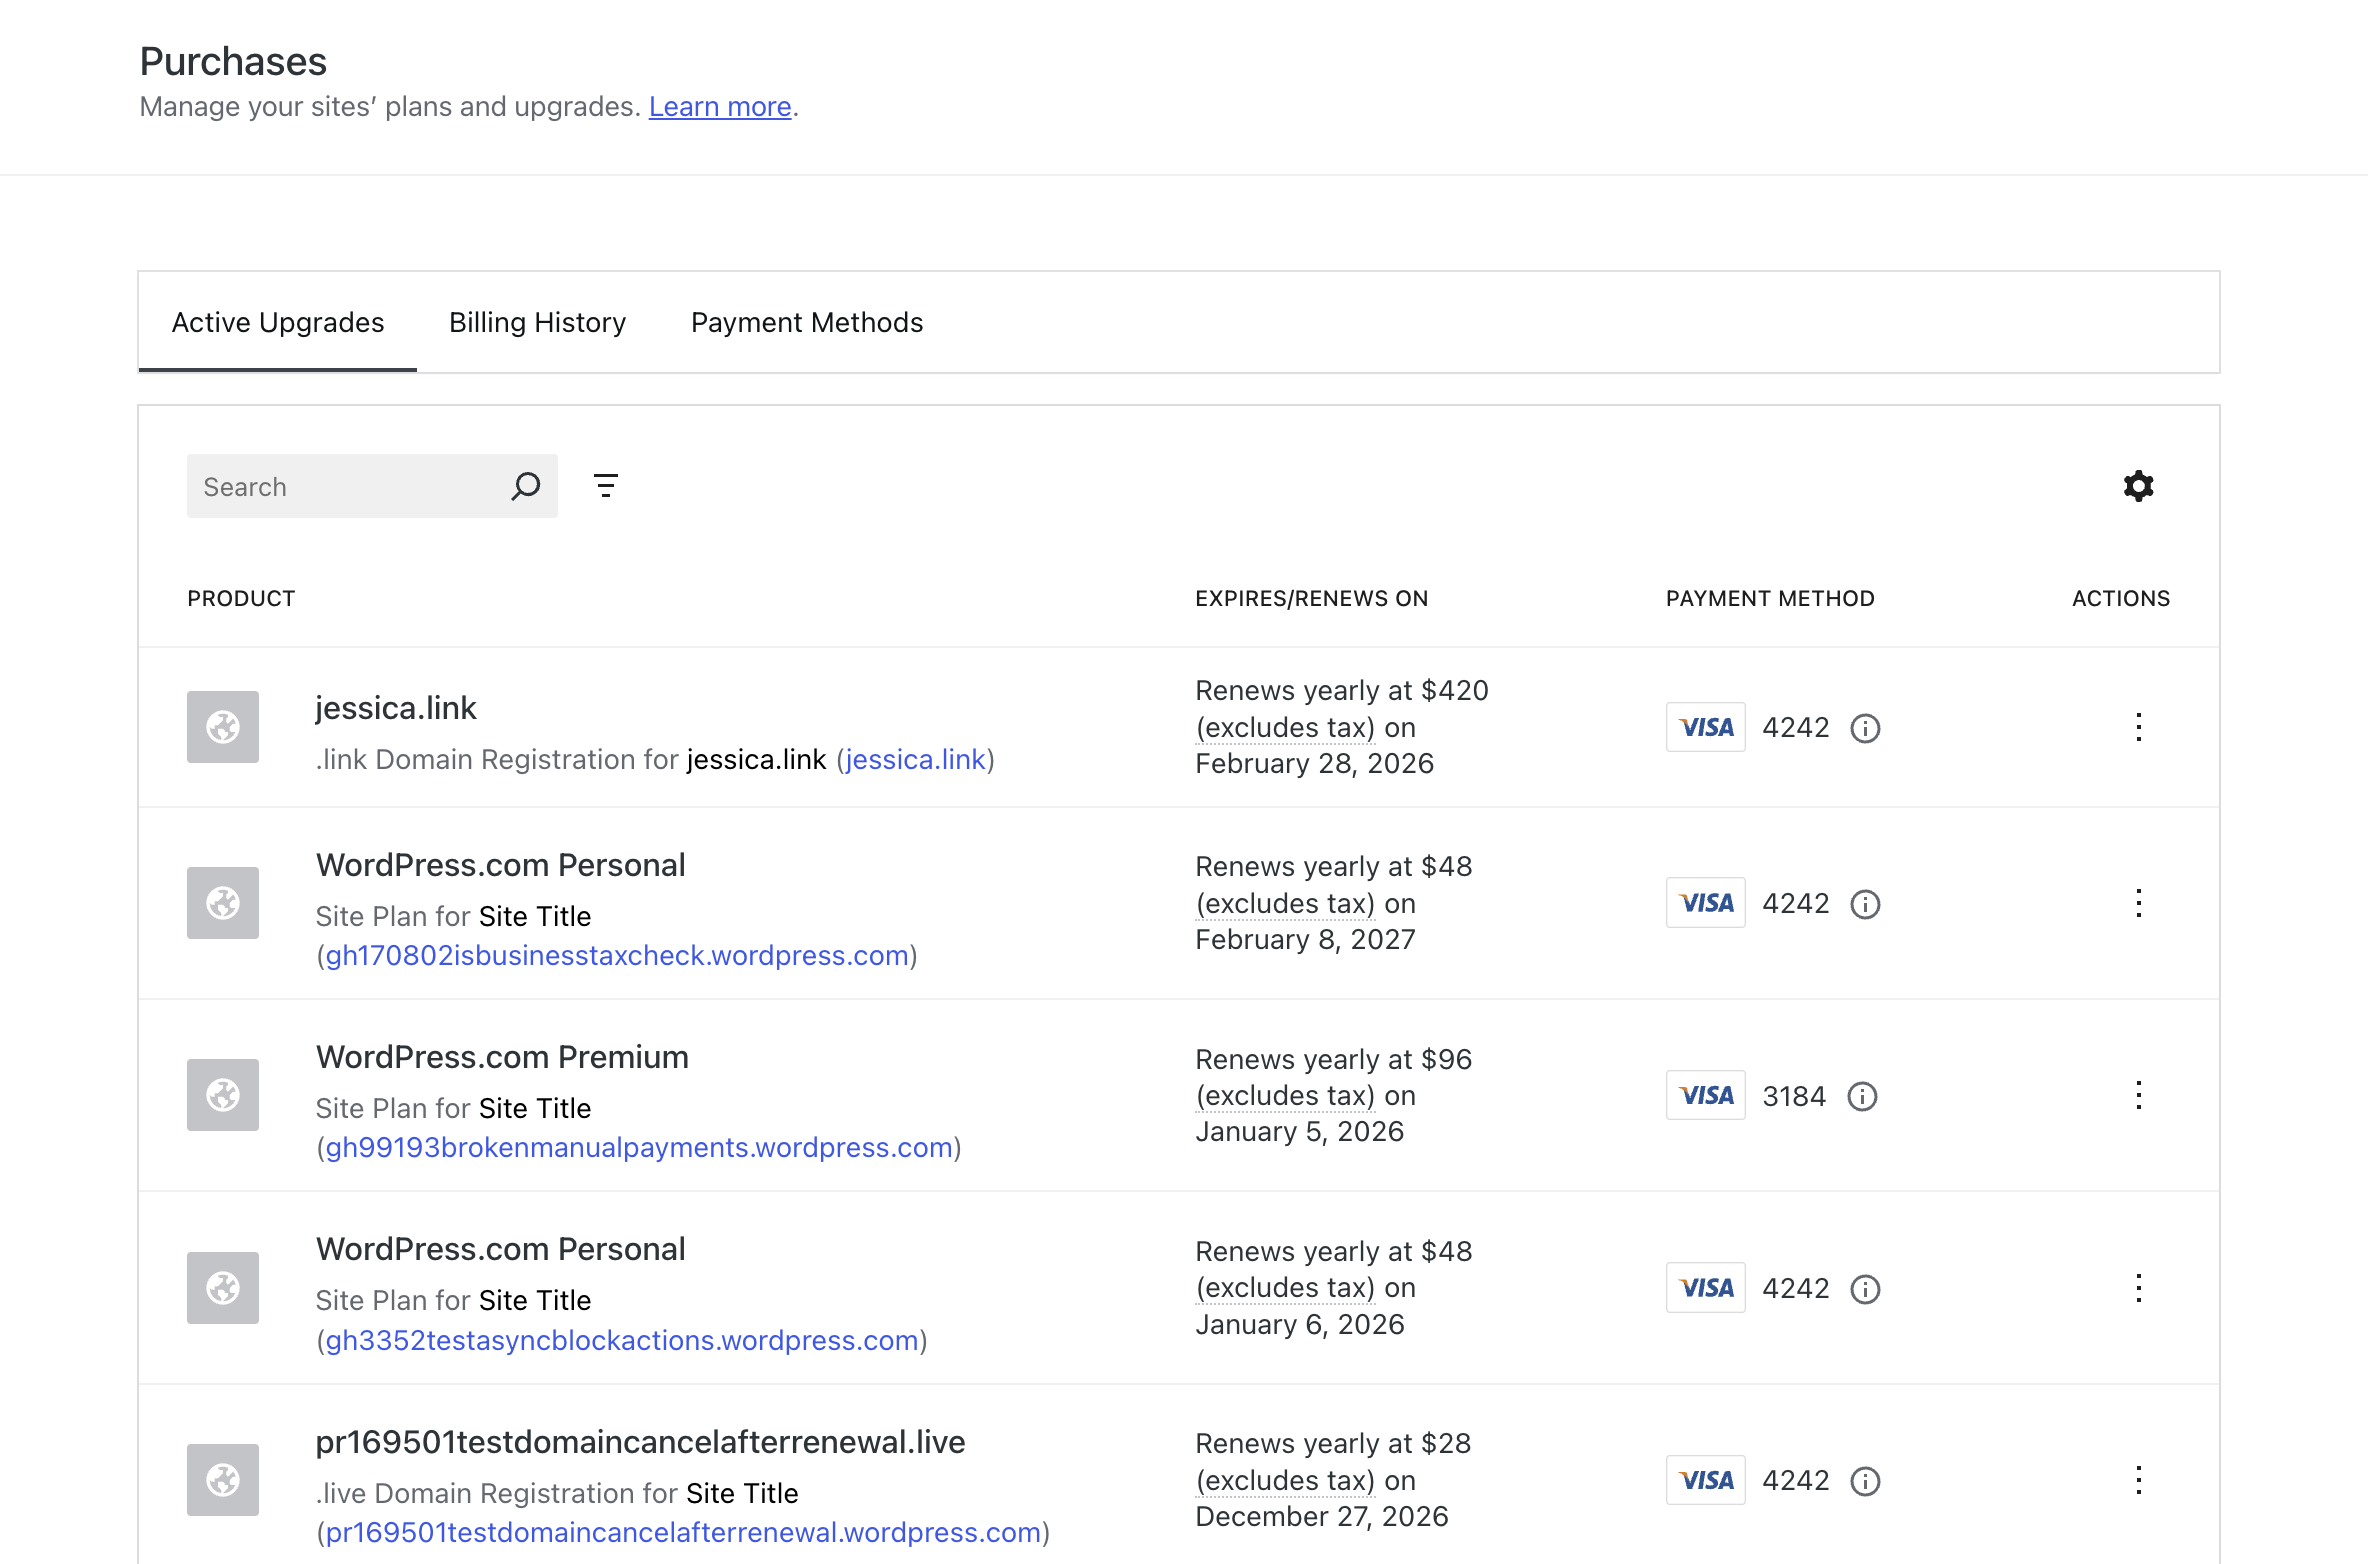
After*
The best part? The users probably didn’t even notice (yet) 🎉
The problem
As a WordPress.com user, understanding where to find a particular subscription was a bit of a headache. There were previously two options.
- Go to
My WordPress.com Account>Purchasesand scroll through a list of all purchases on the account. This includes WordPress.com, Jetpack, Akisment, user-to-user products, certain WooCommerce solutions, Professional Email, and marketplace purchases like plugins and themes. It’s alot. - Go to a specific site home, click on
Upgrades>Purchasesand then see the list of purchases for just that site. This narrows the field a bit, but also means you have to move in and out of different sites to use this filtered list.
The feature request & solution
In 2024, David Rothstein pointed out that the interface of the global purchases list would be improved if it could be easily searched, filtered, and sorted. I took on that challenge with the help of Payton Swick.
After an initial investigation, we decided that rather than building custom functionality, we would migrate the current layout (which was a faked table) to use the DataViews component built into WordPress Core.
Project considerations
The biggest challenge of the project was how to complete that conversion. There were a few key aspects which guided how we defined milestones:
- The Purchases management screen is used by millions of paying WordPress.com users. We couldn’t simply take down the original version and replace it with an “excuse our dust” page while we completed the changeover
- We didn’t want to redesign the page. The goal here was to add functionality, not move the user’s cheese and break years of muscle memory for paying customers.
- The previous
Active upgradesline items were generated by a class component calledPurchaseItem. While it appeared as though there were four distinct sections (Status, Product, Status, and Payment method) these were all tied up into a single class component and couldn’t be accessed individually.
The process
In order to prevent breaking current functionality, I copied over the previous purchases-list directory into a new version called purchases-list-in-dataviews. Then I created a feature flag, purchases/purchase-list-dataview. This allowed the work to be done behind the scenes and shown only in certain environments.
The next phase was to get the PurchaseItem component to render within the DataViews table. I started out by rendering a table layout that contained the PurchaseItem component as a single column. Once that was done, I started to break the PurchaseItem class into individual functional components which could each be rendered into individual columns.
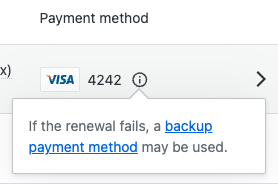
While it would be great to say it only took five PRs to get this to happen, we all know development doesn’t work that way 😅. There were a few hiccups, including a dive into how to render backup payment methods and deciding how to display user-to-user (Membership) purchases.
The good news is that the project kept moving forward. Which got us to the point where we could start to implement the fun part: searching, sorting, and filtering.
Search
There is now a functional search box which can be used to search for a number of data points. This includes the site name, the product type, the service, or the payment method.

Filter
By clicking on the tornado looking icon, there are three filters available to the user. This includes the Site, Type, and Expiring soon status.
Sort
The sort feature can be found within the table settings gear icon. The user can choose which data point to sort by and if they want to sort in ascending or descending order.
What’s next?
I hope users begin to discover the newest features and are delighted by the results.

There are also improvements to be made to the API so that the filtering can be done server-side for performance reasons. There is opportunity for a bit a clean up, such as deprecating the old PurchasesSite component. These are things which the payments teams at Automattic can prioritize.
As for me, I am open to new roles and projects. If you have a legacy code base in need of refactoring to improve your user experience, please feel free to reach out!


* Before you get excited about seeing credit card numbers, these are all Stripe test card numbers.