UWYG = Use What You’ve Got
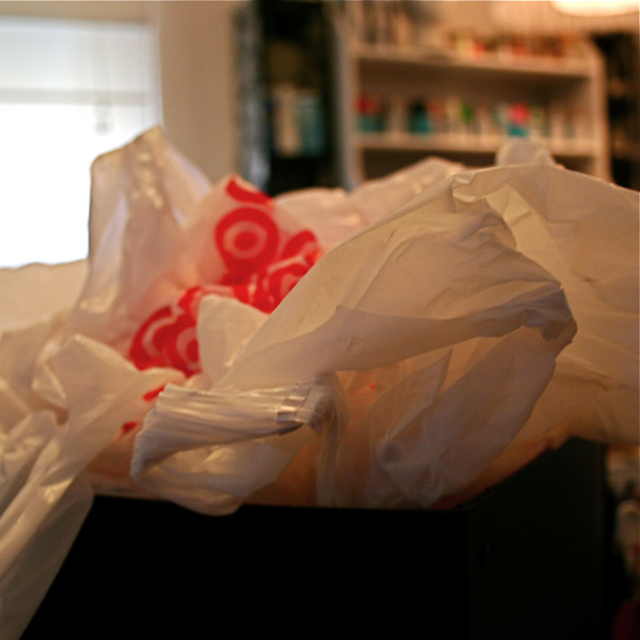
There are lots of ways to be green. For me, the best way to be green is to simply consume less and make the most of the things you have. Let’s suck every bit of usefulness out of an item before we throw it away and fill the dirt with it. One item which everyone uses and has the most potential for reuse is a simple plastic shopping bag.
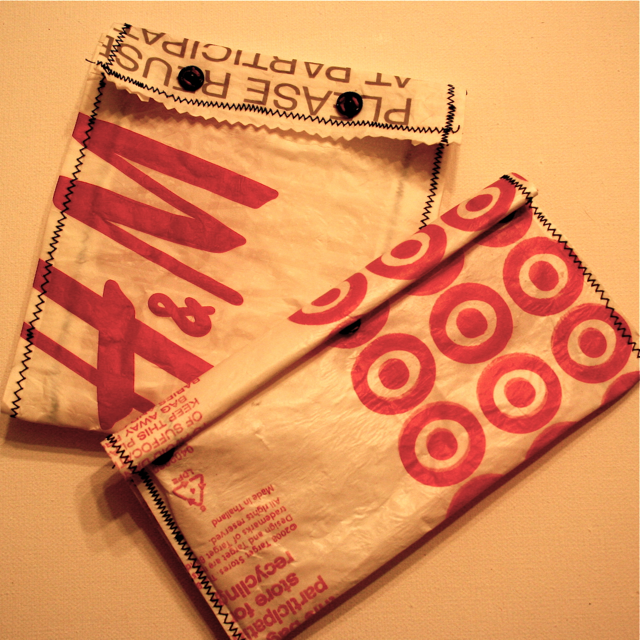
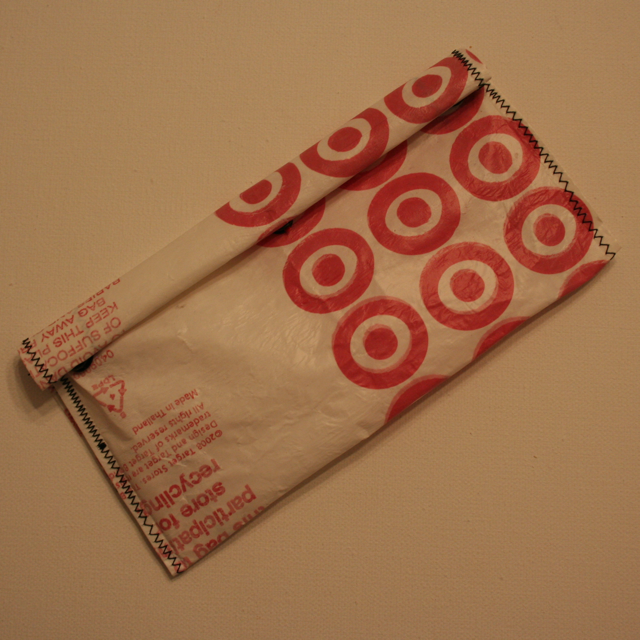
This project is how to make a fused plastic bag snacker. They are a great size for snacks and you can use them over and over again. I have been using mine for carrots and pretzels all week!
How to Make Fused Plastic Snackers:
What you need:
Butcher Paper
Plastic Shopping Bags
Iron
Ironing Board
Sewing machine
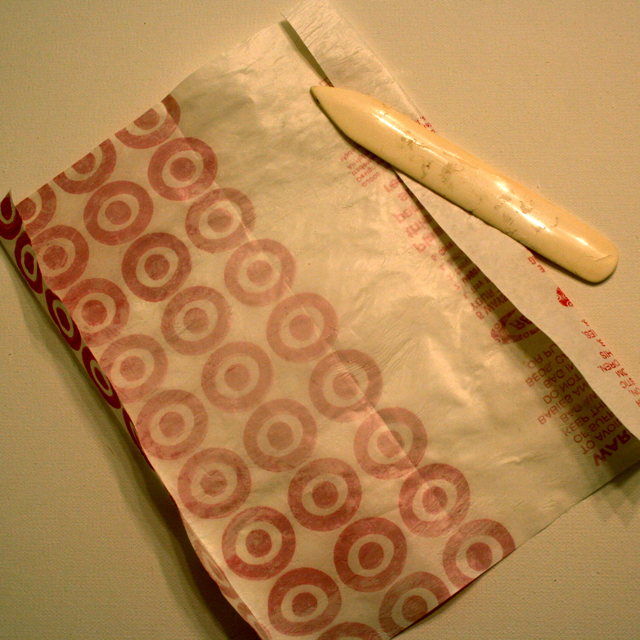
Bone Folder or ruler
Snaps or closure
1. Lay your plastic bag out flat, cut off the top handles and the bottom, leaving the side seams intact. Once you have done this, lay the bag out flat again, you should have two layers, the back and the front. If you have a thinner plastic bag, such as a grocery bag, I recommend folding this in half in the same direction as the seam so you have four layers. If it is a thicker plastic bag, like from a clothing store this may not be necessary.
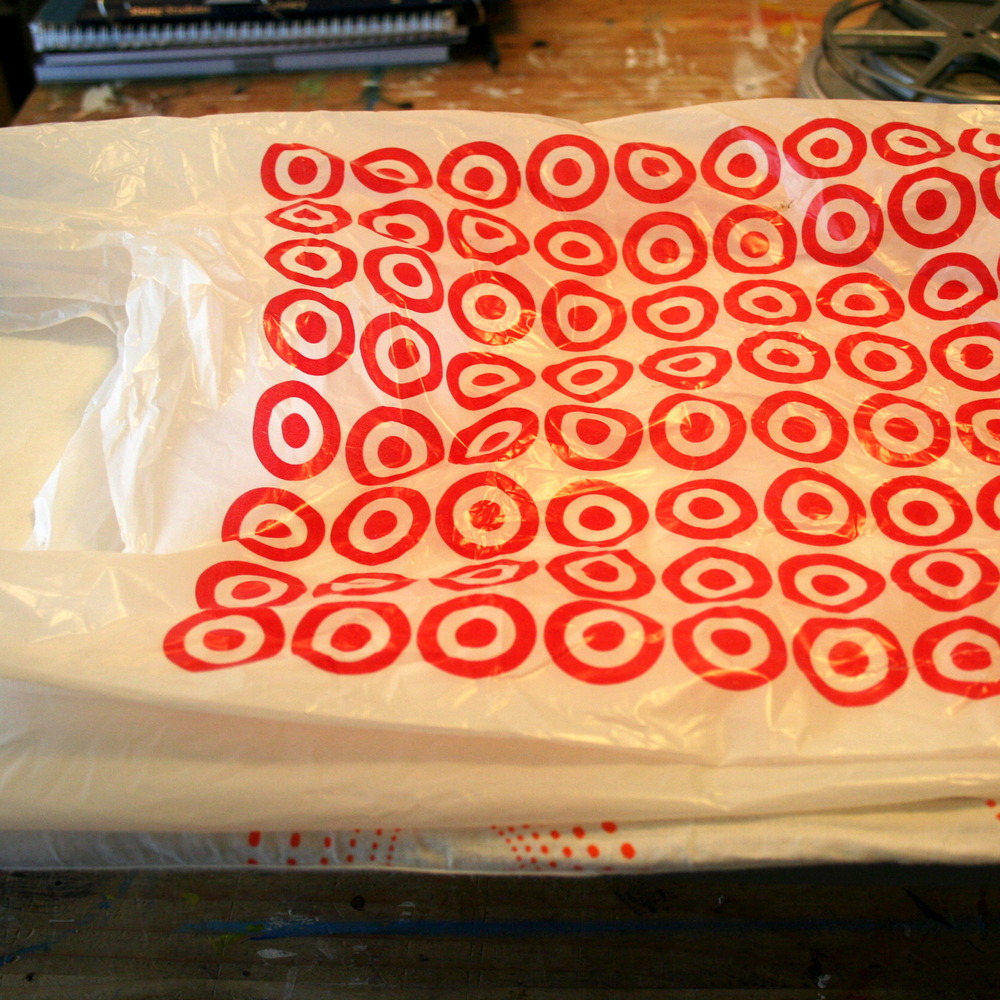
2. Lay two pieces of butcher paper which is 3″-4″ larger than your plastic, on your ironing board. Place your folded plastic bag between two sheets of butcher paper, this protects both your ironing board an
d your iron.

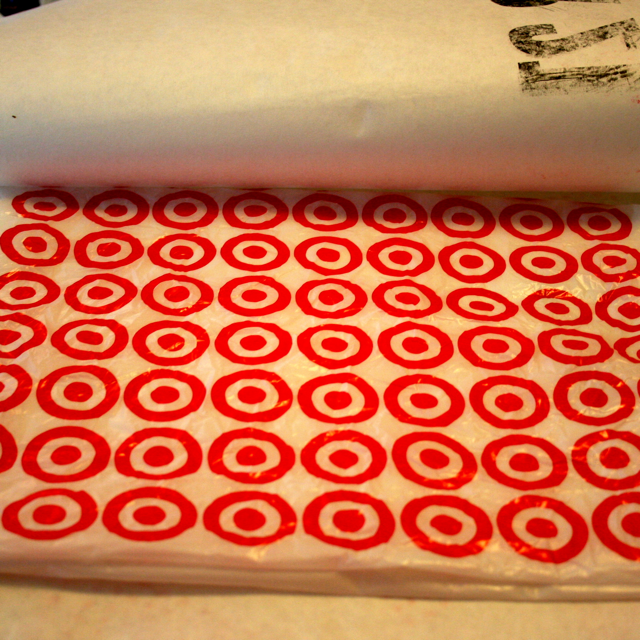
3. Start with a medium low setting on your iron, it is always better to start cooler and get hotter if you need to. Iron over the butcher paper and the plastic bag with quick motions, never letting the iron rest in one place for too long, for about 15-20 seconds. You can set the iron aside to check and see your progress. Your plastic bags should start fusing together, a good indication of this is when logos or images start showing through the layers and the plastic begins to feel thicker and more sturdy. Also, if you rub your fingers (be careful it will be hot!) along the plastic there should be no give or bubbling (like there is an air pocket).
Trouble shooting: if the plastic is not fusing together properly, you may not be giving it enough time with the iron, or you may need to set it to s slightly higher temperature. If you find your plastic is curling or bubbling (like it was boiled), then your iron is too hot or you are letting it rest in one place to long.
Don’t get discourage, it takes a while to get the hang of fusing the plastic but it is totally worth it if you can hang in there!

4. Once you have a few pieces of nicely fused plastic completed, trim them down so they have a more squared off appearance. It does not have to be exact, but the more even it is the more easy the rest of the process is.
5. Decide which side of your plastic you would like to be the exterior of your snacker. Lay this side face down on your workspace. Using your Bone folder, fold the long edges of your fused plastic sheet up in towards the middle about 1″ on either side. Make sure to give it a good crease as the makes sewing it easier.
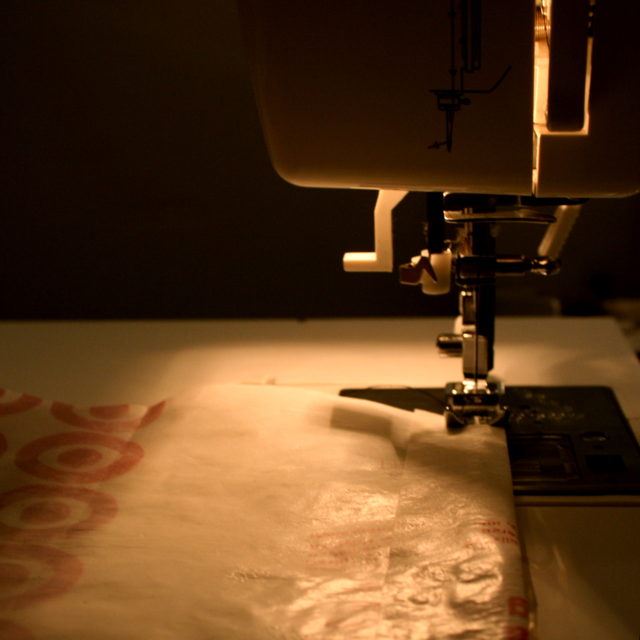
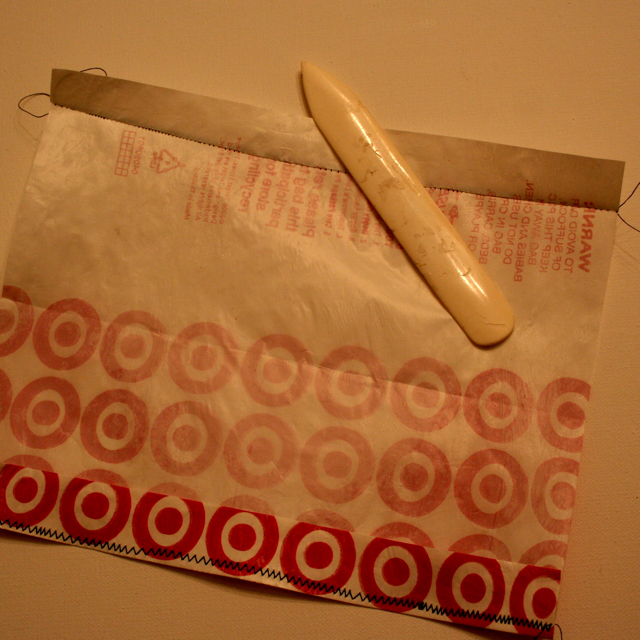
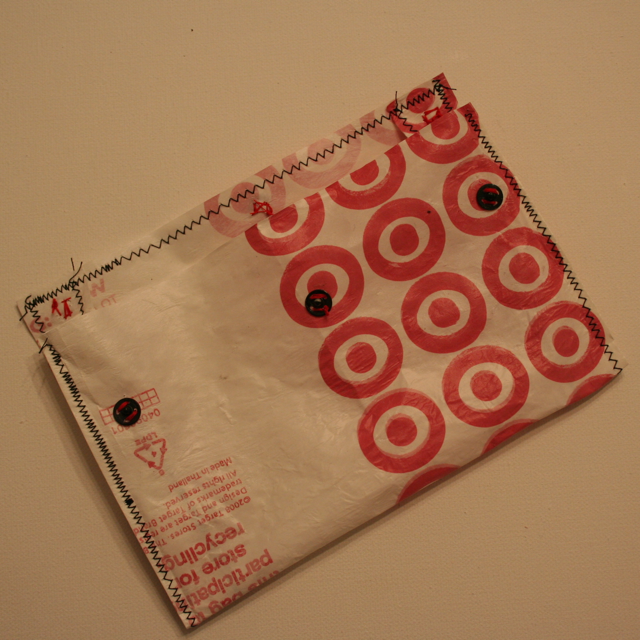
6. Using your sewing machine, sew the folds shut as close to the crease as possible. The purpose is not to actually make a seam, but to prepare for a depth when we make the bag. I used a zig zag stitch because it adds a decorative touch. You may need a more sturdy needle for this as well, I used one intended for denim.
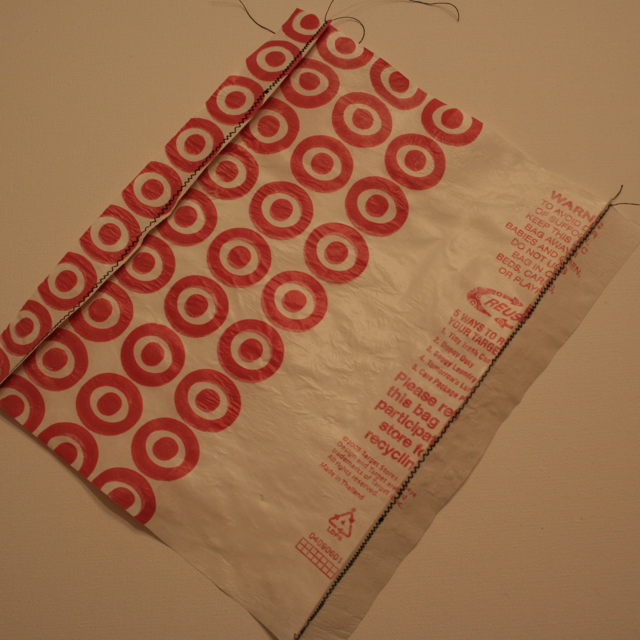
7. Once both folds have been sewn, Lay the plastic sheet again face down on your table, and with your bone folder, open the seams up. Once you have done this, flip the sheet over so the exterior is now facing you. Fold one of the shorter sides almost in half to the other, leaving about 1″-2″ for a fold over flap. Use your bone folder to make a strong crease and line up the long edges of your sheet as best you can.
8. Starting at the crease you just made, sew the long edges together. The exterior side which you picked should be folded over on itself, as well as the previous seams we had made. Once you have finished sewing both edges together, gently turn the bag inside out.
9. All that is left now is to fold the longer side of the bag over as a closing flap, and to add snaps or whatever type of closure you want. You may also want to do some decorative stitching along the top flap so it matches the rest of the sewing. Have fun and be creative!
Tips & Tricks: This is one project where persistence and experimentation are required. I have found I like the way Target Bags fuse together the best ( I may be slightly biased), though my favorite end product was made from an H&M bag (once again, slightly biased). I found that putting a piece of felt underneath the plastic also seems to help keep the temperature more even, but haven’t tried it enough in general to recommend it for every use. If you need more examples, simply search YouTube for “Fused Plastic Bag Projects”
Continuing the adventure,
Jessica