One of my favorite things to do is make old things new. I love re purposing, repainting, and reinventing things in new ways. One of may favorite old things are picture frames, and a great use for them is to convert them into magnet boards. I want to share this easy project with you.
Supplies you will need:
1. Old picture frame, the more ornate and detailed the better
2. A piece of sheet metal approximately the same size as your frame. (Just as a tip, the thinner the gauge of steel the better as these are easier to cut).
3. Spray Paint
4. Sand Paper
5. Ribbon
6. Hot Glue
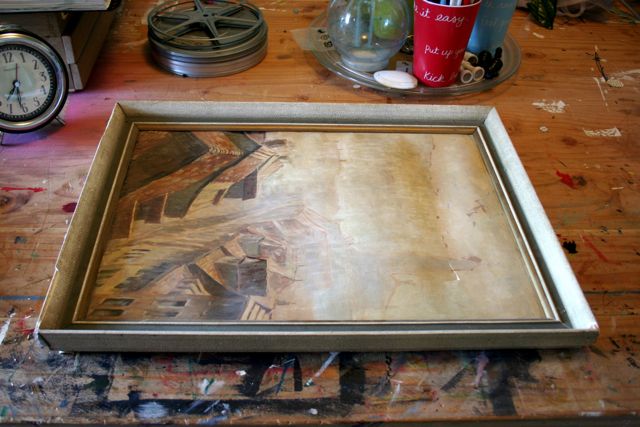
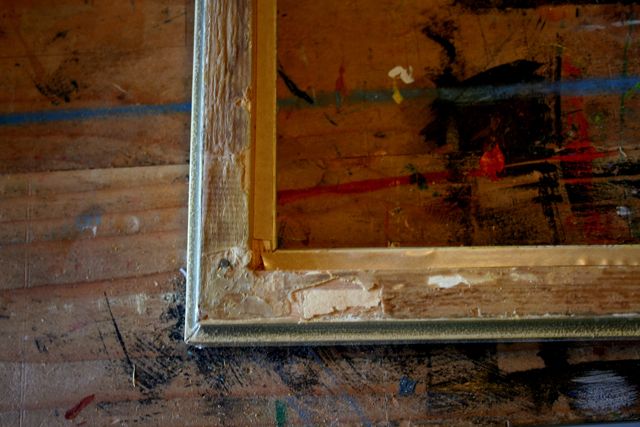
To begin, select your frame and remove whatever it is currently holding. Including whatever nails or staples may be keeping it in place. I suggest having small jar near by to put the leftovers in so you don’t mistakenly leave a piece of sharp small metal around.
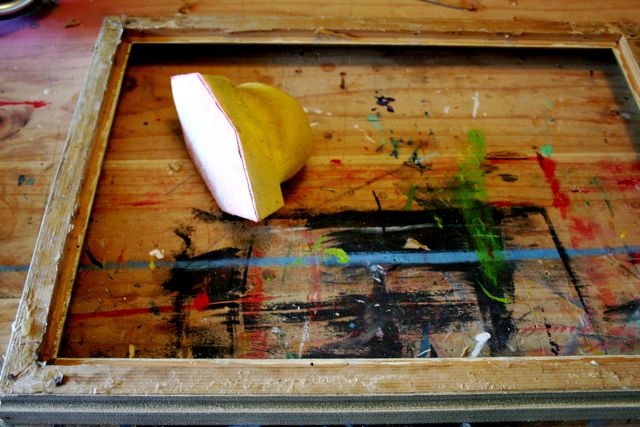
Once you have pulled out all the metal, give the frame a light sanding, we are not trying to make it perfectly smooth or even remove all the characteristic giving blemishes, just sand off any large loose pieces which may interfere with the paint adhering to the frame.
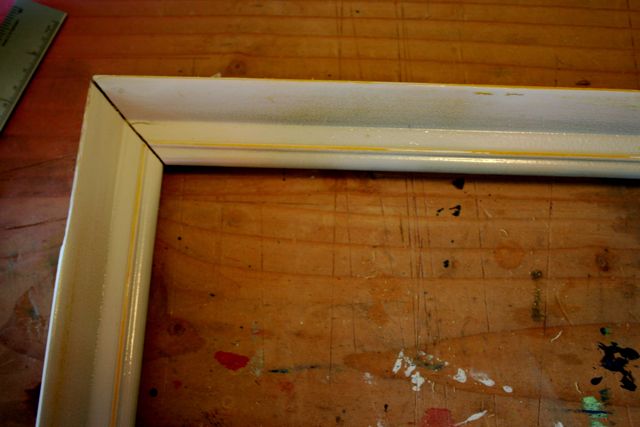
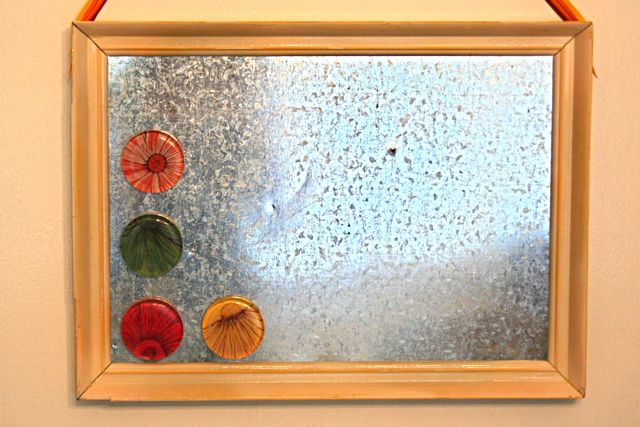
Next, you simply paint the frame using your favorite spray paint color. For the example I was making, I choose to use two undercoats of bright yellow and a single overcoat of a creamy white. Once the paint completely dried, I lightly sanded through the white paint to let the yellow peak through. It made for great accents along the outer frame, and also on one of the molding pieces.
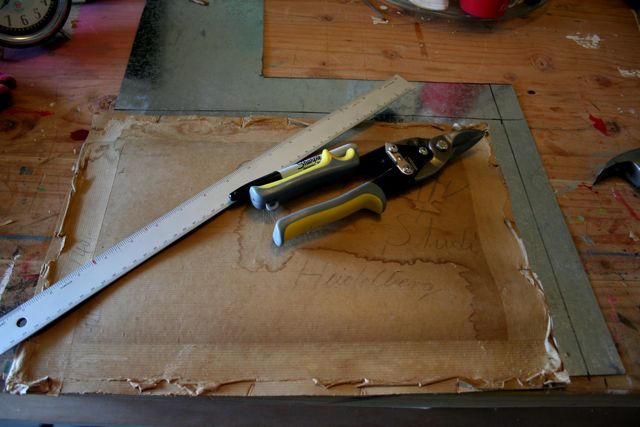
Using whatever was in the frame originally as a template, you need to size and cut the sheet metal to fit into your frame. Remember, it doesn’t have to be completely exact because most frames have a 1/4″ lip that allow you some play in the fitting, but don’t abuse the privilege. Also, when you cut the sheet metal, if you keep the smaller side (most likely your scrap) on your left side, it tends to make cutting it easier. If your shears are anything like mine, this will be the side the rolls up towards you, and the smaller it is, the easier it goes.
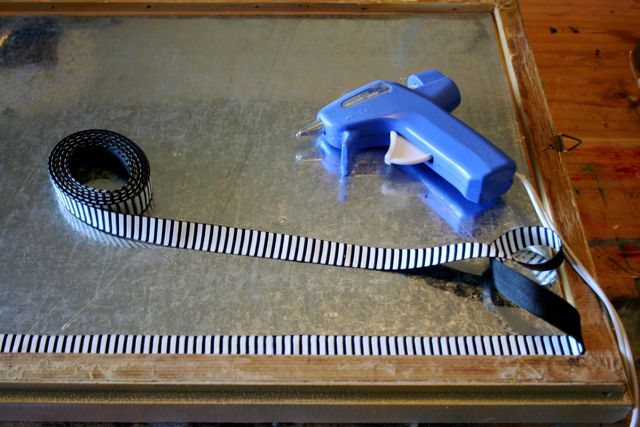
The last step is to adhere the sheet metal to the frame. Using a bead of hot glue behind the sheet metal into the wood works well and has been my method of choice in the past. In this example though, I decided to lay down some double sided
Sealah tape first, and then lay my sheet metal over it.
Sealah tape is great product which becomes permanent after 24 hours and work on pretty much any material from wood an d metal to fabric and papers.
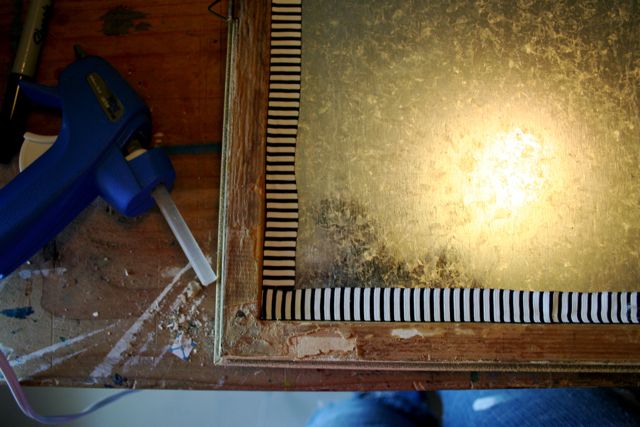
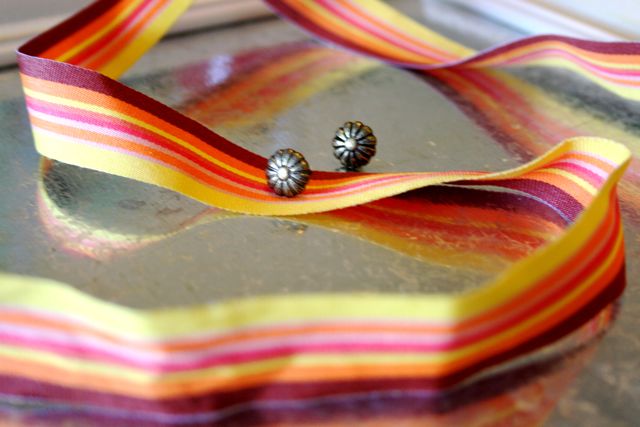
After you set the sheet metal into your frame and have secured it, it is time for the finishing touches. I like to glue down a ribbon along the back of the magnet board to cover up where the magnet board and frame connect. I also used some brightly colored ribbon and a couple of upholstery tacks to create a hanger. Have fun and let your inspiration take you!
So now you know how to make your own magnet board!
Continuing the adventure,Jess


Leave a comment